Complete guide to create invoice templates with Fordeer
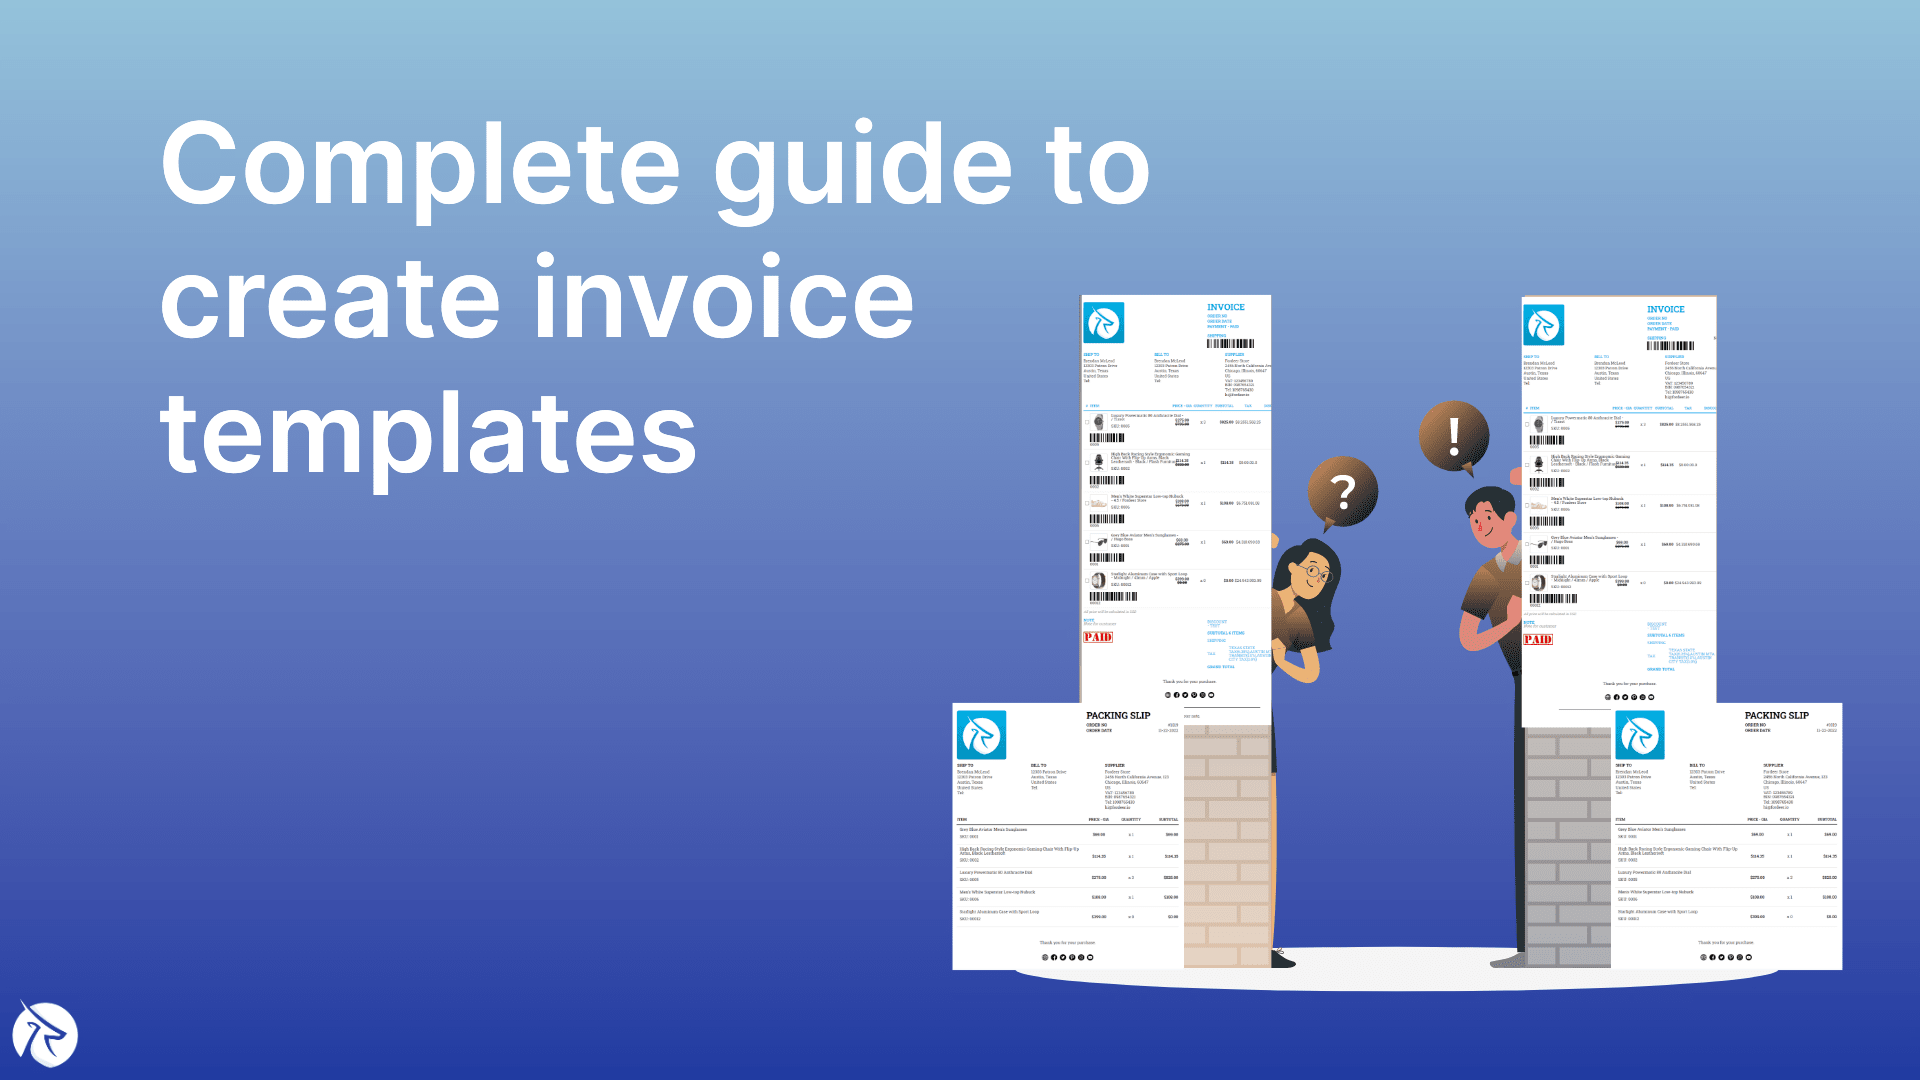
Late payments are the one issue that keeps company owners awake at night. The most recent studies show that late payments cost small firms $3 trillion annually!
To be paid faster, you need an invoicing system that enables you to quickly and properly produce invoices. Making invoices correctly will not only help you get payments on time, but it will also enable you to accurately track all of your financial activities. Are you unsure how to design invoice templates effectively?
Throughout this post, Fordeer will provide you with a complete guide to designing invoice templates with Fordeer Invoice Order Printer.
What makes an ideal invoice template?
Microsoft Excel, Microsoft Word, online accounting software, a free invoice maker or invoice generator, free invoice templates, or our sample invoices may all be used to produce different invoice types. You can create professional invoices for your business much more quickly and easily by using ready-to-use blank invoice templates.
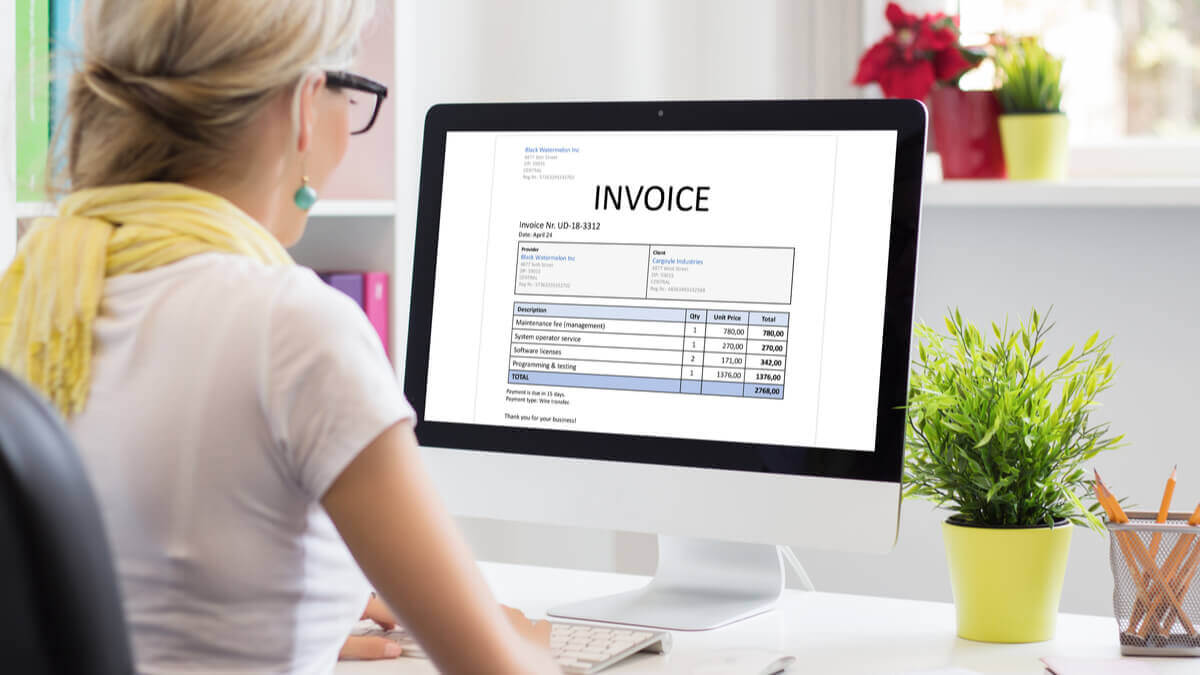
We provide ready-to-use invoice templates or invoice examples that may assist you to create invoices in the proper format since we are aware of the time and work you put into making invoice books.
Simply download free invoice templates, edit them, and email invoice books to your clients to ensure prompt payment. All of the commercial invoice samples or templates are provided here:
- are printable in bulk;
- can be customized according to your business needs;
- contain all important invoice elements;
- can automatically calculate total amounts and;
- are put in a professional format.
Complete guide to design invoice templates with Fordeer Invoice Order Printer
Step 1: Log in to Fordeer Invoice Order Printer (FIOP) (or Shopify admin ⇒ Fordeer Invoice Order Printer”
You must first log in to the FIOP before starting to design your invoice templates.
Step 2. Create and modify Layout
On the dashboard, click “Templates” then you can go to “Layouts” which keeps your previous orders and allows you to create a new layout.
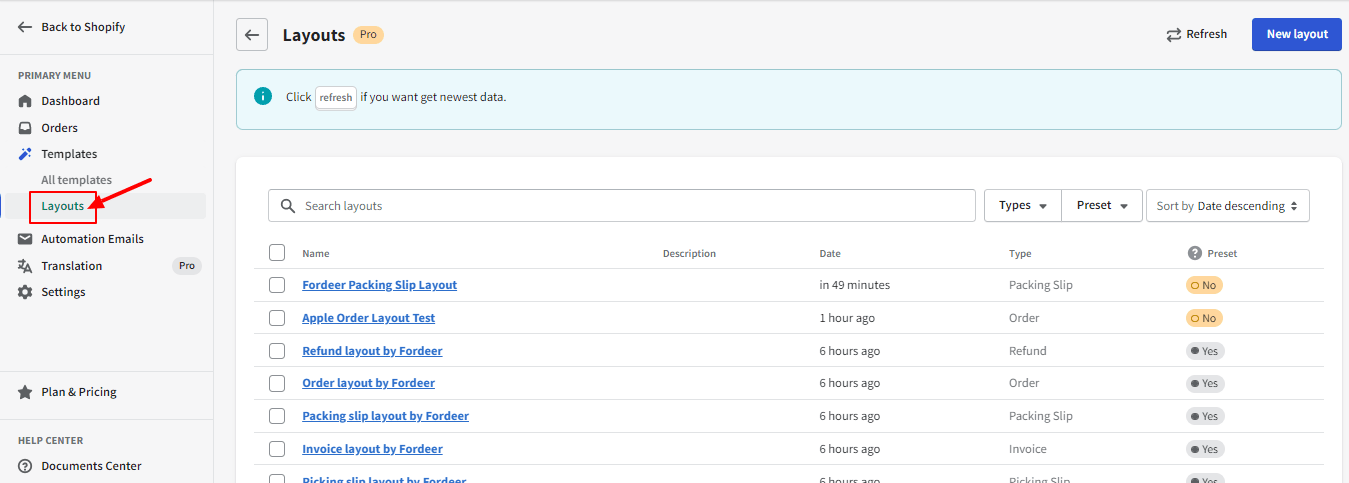
On this page, you see an option “New layout” and a list of previous orders. If you want to create a new one, click “New layout”. If you want to modify the old one, then select the order that needs to be updated.
Note that when you choose the “New layout”, you will have to select the type and available layout of documents.
At this point, we provide you with the available liquid variables. You are able to entirely modify them to create your own layouts.
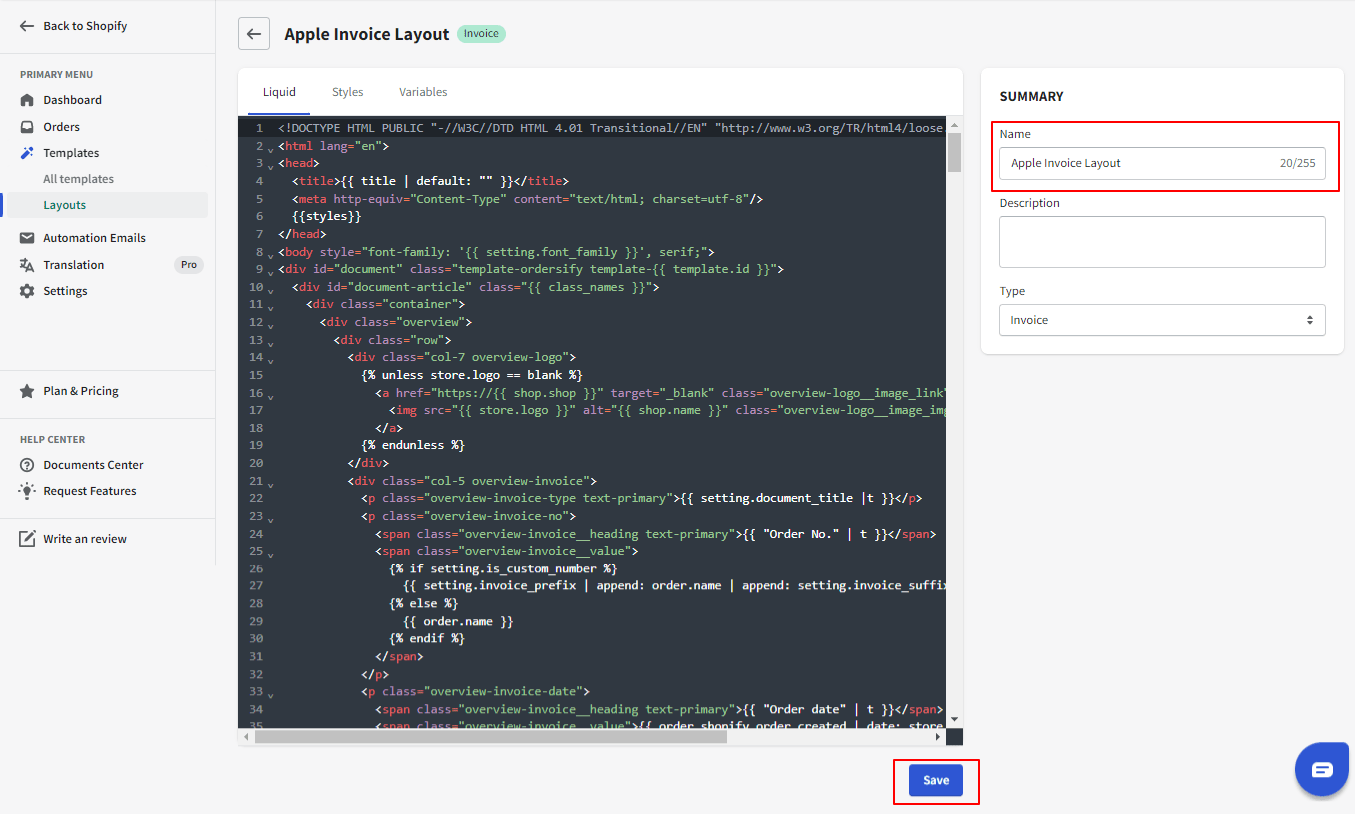
After you rename the layout, click “Save” to complete it.
Read on for more details here.
Step 3. Design billing document templates
On the dashboard, click “Templates”, and then you can go to “All templates”, which keeps your previous orders and allows you to create a new template.
On this page, you see the option “New Templates” and a list of previous orders. If you want to create a new one, click “New Templates”. If you want to modify the old one, then select the order that needs to be updated.
Select the type of document and layout
Before starting to customize a billing document, you need to choose the type of document and layout based on your requirements.
Click “Create Theme”
After choosing the type and layout of the document, click “Create Theme” to start customizing
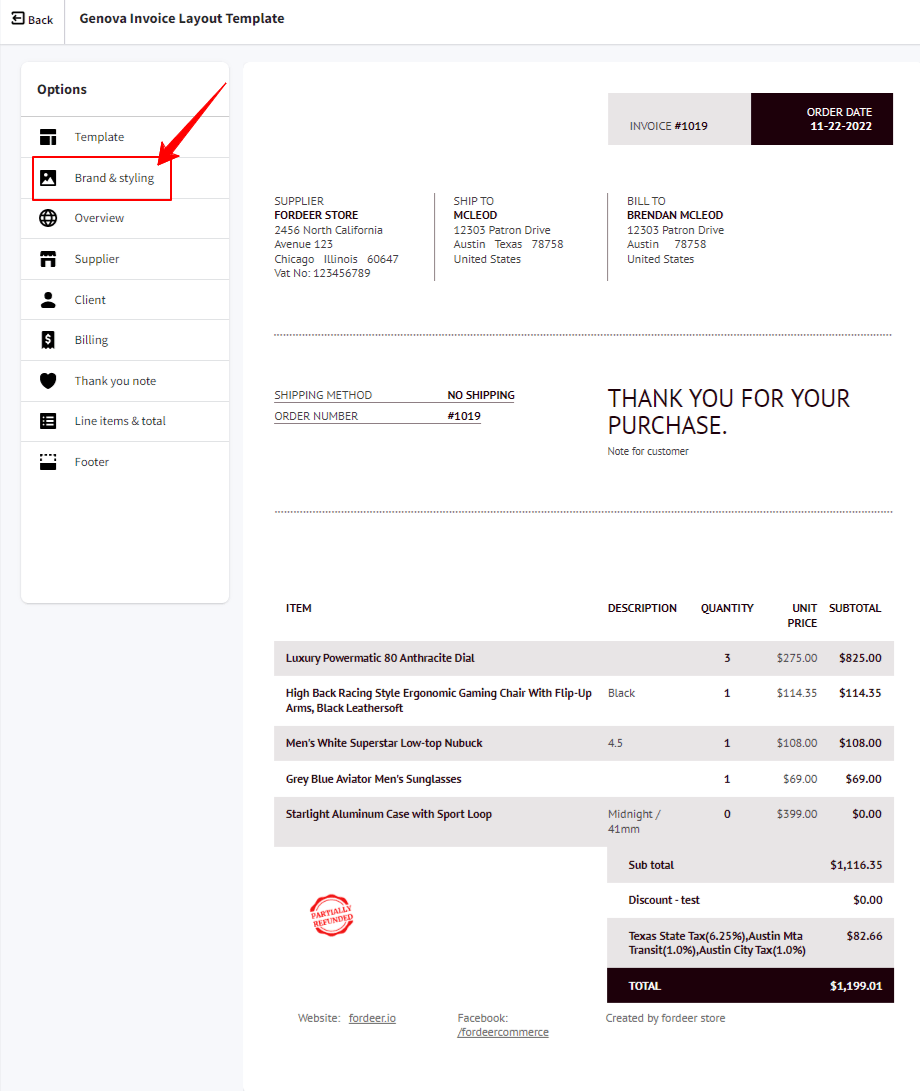
Customize your unique invoice templates with “Branding & styling”
Show logo
Put a checkmark in the checkbox “Show logo”. Just with one click, your company’s logo will be displayed on the billing documents.
In the template, the previously set logo will be immediately filled in. You can adjust the logo's size as you desire.
Primary color
There are a number of things that could be shown with the color you choose.
Not only the available color bar, but you also can use your favorite color or the main color of your business by putting a checkmark in the checkbox “Use custom color”.
Fonts
There is a font system available that you can apply to your documents. More than that, you also can use your own font by putting a checkmark in “I have another font”. Then, you get your font URL on the blank bar to apply your font.
Moreover, you also can modify the font size and line height.
Modify your store’s information
On the Options page, you are able to choose any option that you want to change. You can make a decision about whether the supplier/customer/shipment information would be shown. In addition, you also allow to choose if you want the items's image or quantity, discount, or total price displayed on the documents.
Attract your customers with a “Thank you note”
With this option, you can control the information displayed in the document by putting a checkmark in “Show shipping method”, “Show order number”, and “Show order note.”
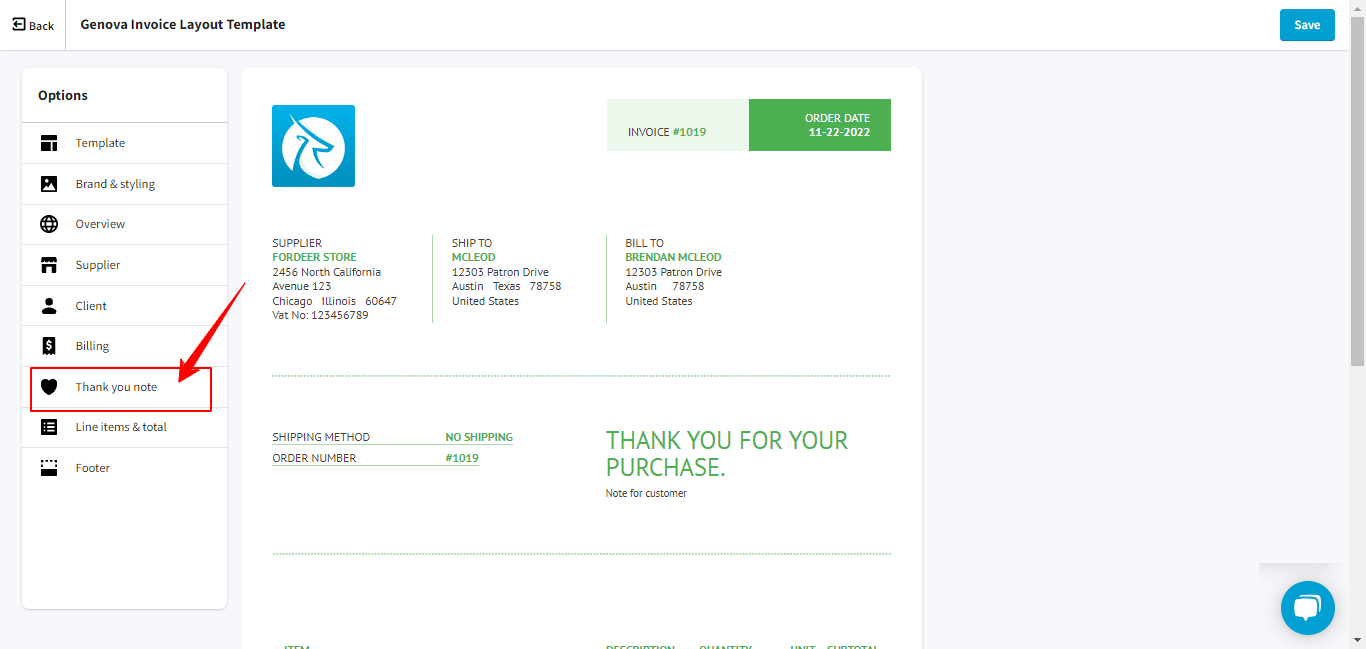
Especially, you are able to create your “Thank you note” which expresses your brand’s message. This part allows you to make a great impression on your customers.
Step 4: Save your invoice templates
After all the customization, do not forget to click “Save” to have your unique billing templates, allowing you to easily increase your brand identity.
Wrapping up
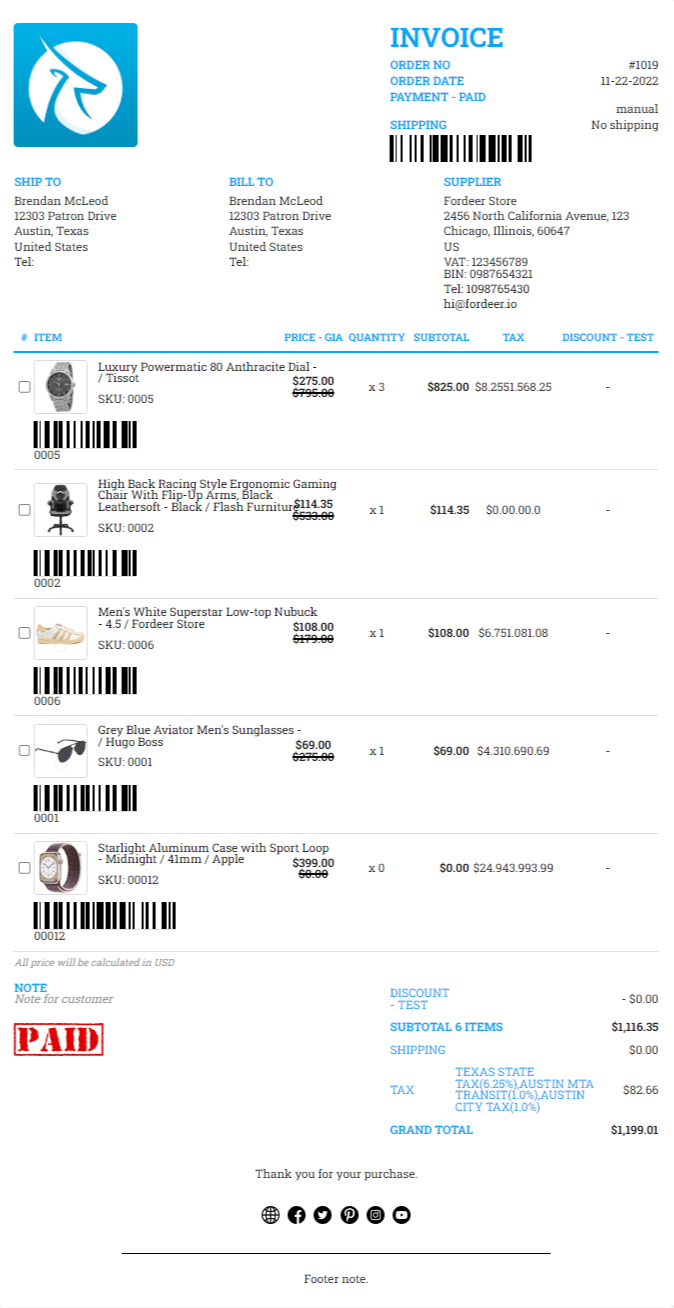
You may make example invoice templates using the invoice template PDF as a small company owner and then modify them to meet your needs. These invoices may be edited, so you can change fonts, add or remove photos, update or add new content, etc.
Therefore, you may utilize the editable invoice template PDF, personalize it, and send it to your customer for quicker payment rather than producing an invoice template PDF from start.
Refer here for further information about the Fordeer: Invoice Order Printer app. Explore more deeply about our app with Fordeer Helpdesk.


