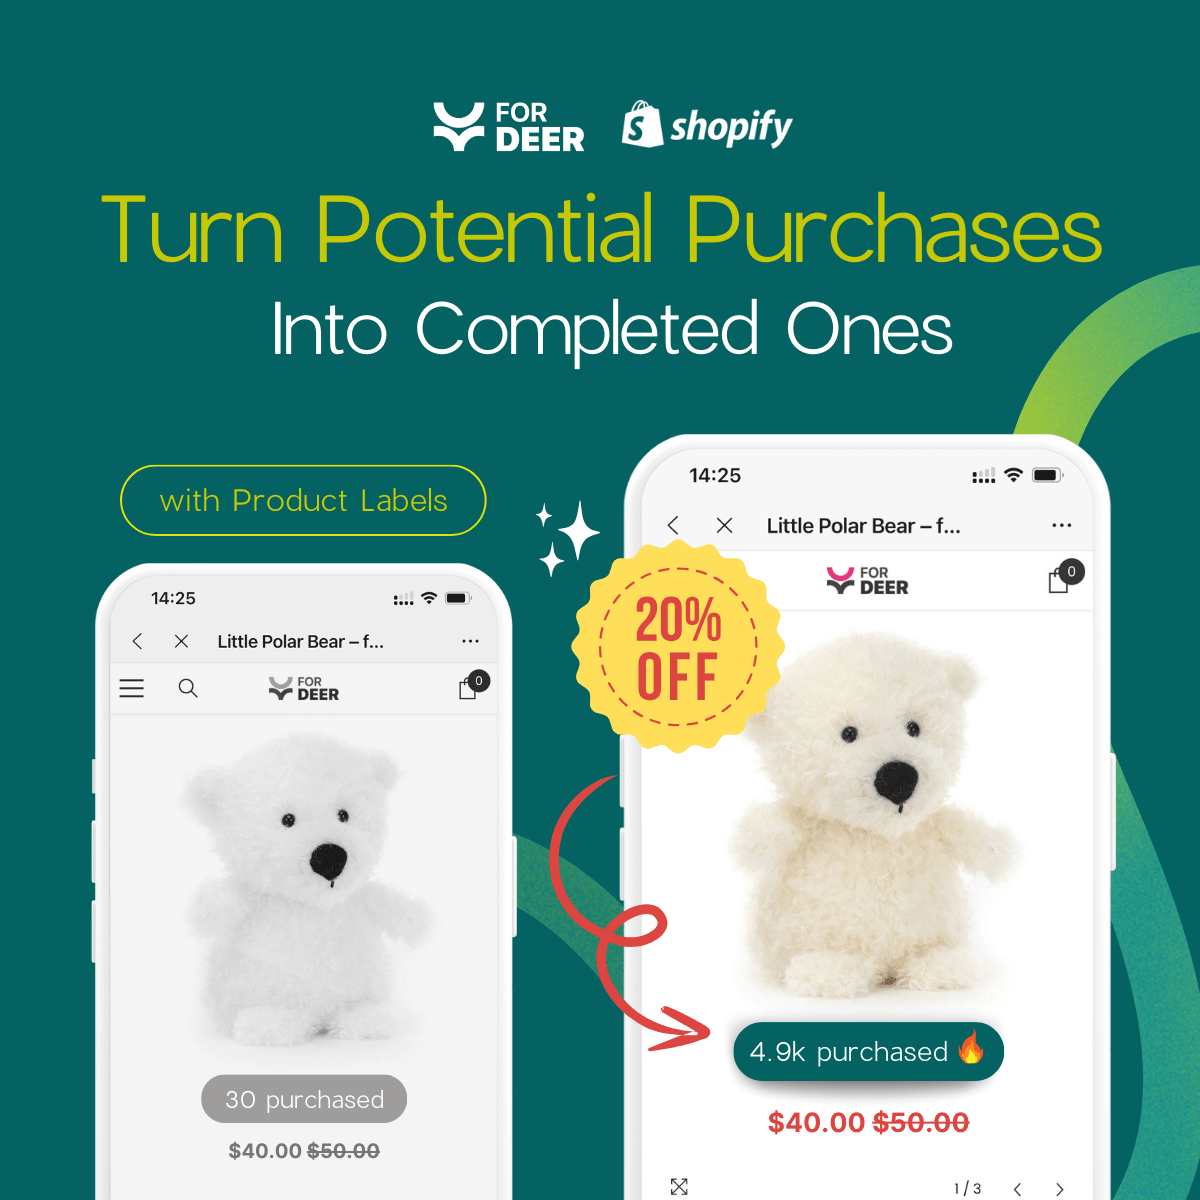
Shopify Product Label Automation: Create Rules That Badge Products Automatically

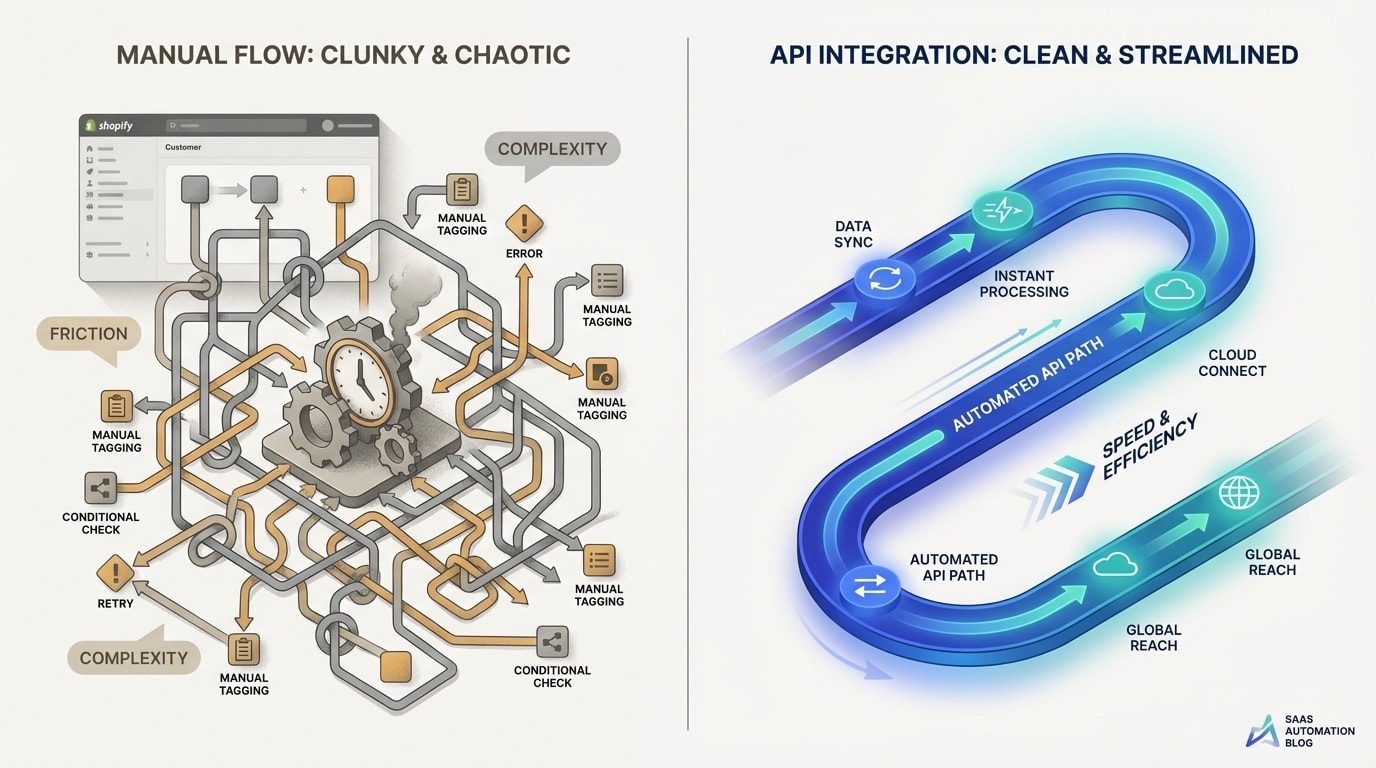
Wasting hours manually applying "Low Stock" or "Best Seller" tags to thousands of products is a massive drain on your resources. Worse yet, when inventory changes and you forget to remove a tag, you risk frustrating customers or overselling. If you run a growing store, manual tagging simply isn't sustainable anymore.
To scale effectively, you need solid Shopify product label automation rules. Growing merchants often understand the basic dashboard but hit a wall when trying to build complex IF/THEN logic for storefront visual badges.
In this guide, we clear up the confusion around different label types. You will get five exact automation recipes you can implement today to boost conversions and optimize your supplemental feeds. Let's get started!
I. Overview of Product Labels in Shopify
Understanding the difference between backend tags and visual storefront badges is crucial for automation.
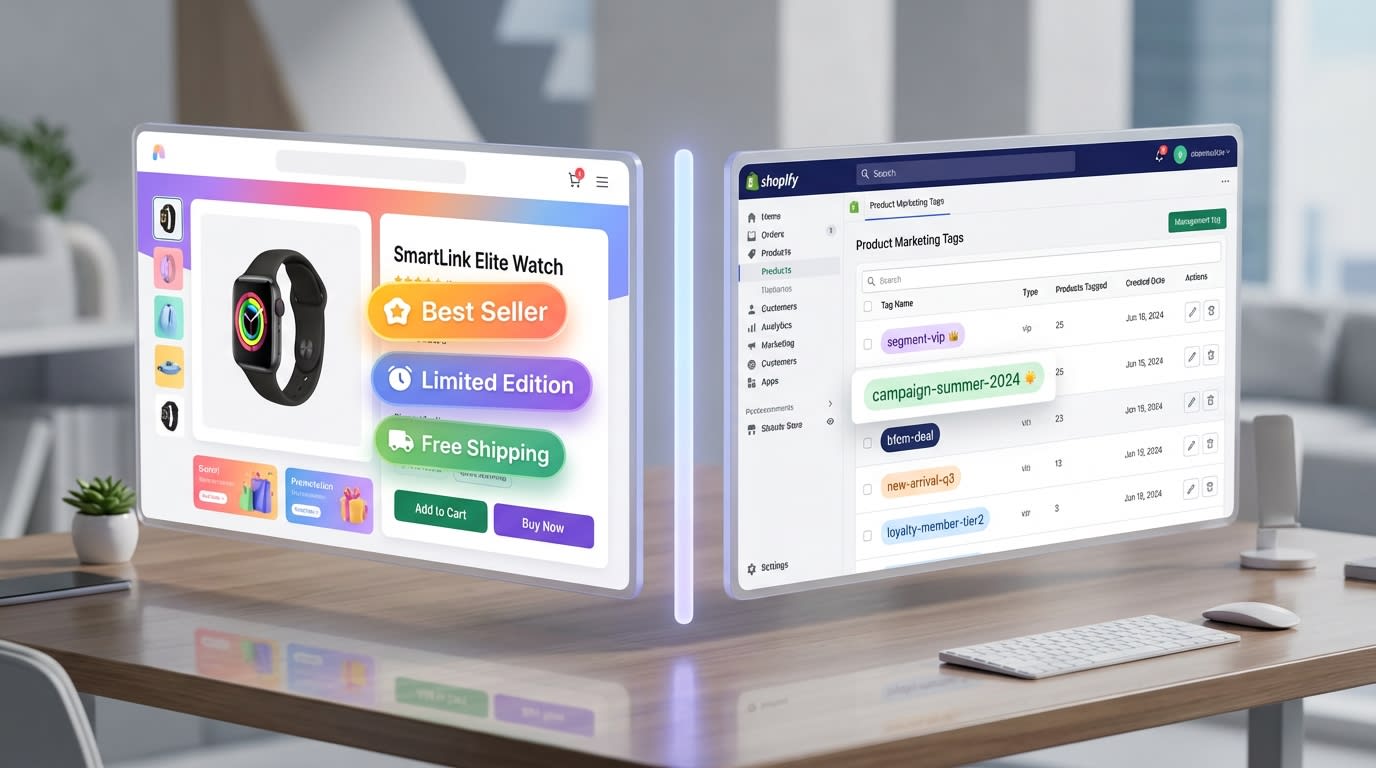
1. Marketing Labels vs. Shipping Labels
Many merchants confuse storefront visual badges with backend organizational tags. Treating them as the same thing leads to messy data.
Backend tags help fulfill orders and organize shipping rules. Visual marketing labels appear directly on your product images to drive sales. Visual badges directly impact your conversion rates by creating urgency and trust. You can use Automated Labels: Capture Instant Attention to Stand Out in Seasonal Sales to highlight your best promotions without cluttering your fulfillment data.
2. The Google Merchant Center Connection
Shopify custom labels map directly to Google Merchant Center. These custom labels form your secret weapon for Performance Max campaign optimization.
By using automated supplemental feeds, you tell Google exactly which products to push based on real-time data. This connects your Shopify tags to your ad platform. It keeps your ad spend efficient and highly targeted.
3. Why Complex Logic Matters
Basic Shopify functionality limits dynamic "AND/OR" rules. Dynamic rules are absolutely necessary for accurate promotions.
For example, you might want a badge only if inventory is under 10 AND the category is "Shirts". Manual Liquid code editing is too risky and time-consuming for most teams. A visual rule builder solves this problem instantly.
II. 5 Automation Recipes for High-Conversion Badges
Here is your logic library. These are ready-to-use recipes built on simple IF/THEN logic. You can recreate these in a visual rule builder to save hours of developer time.
1. The Real-Time "Low Stock" Urgency Rule
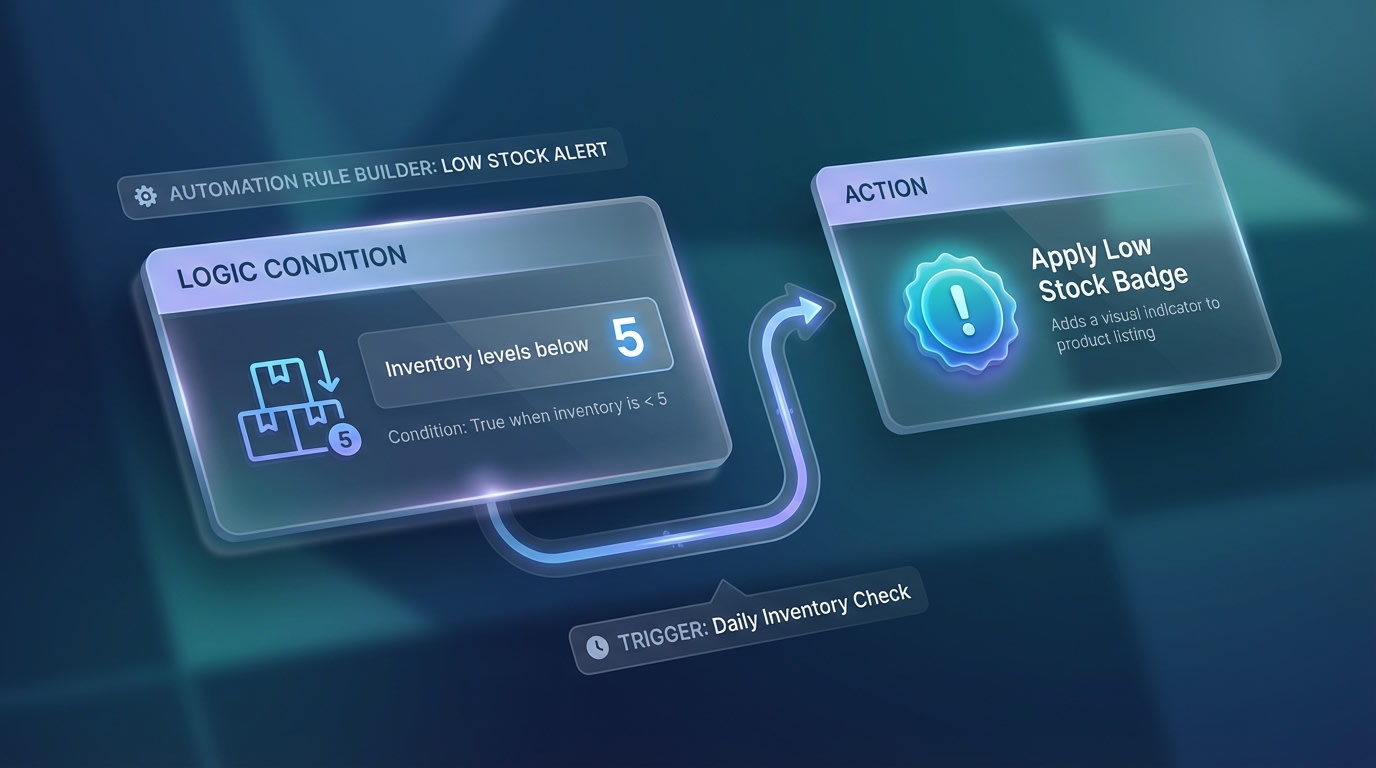
Creating a real-time low stock automation rule
Creating genuine urgency is a proven conversion driver. Fake urgency hurts brand trust. Customers respond to scarcity, but failing to remove the badge when you restock ruins the illusion. Real-time inventory synchronization is critical.
How to implement:
- Condition 1: IF
Inventory Levelis LESS THAN 5. - Condition 2: AND
Inventory Trackingis TRUE. - Action: THEN display "Selling Fast" visual badge.
- Fallback: WHEN inventory > 5, automatically revoke badge.
By automating this based on real-time API syncing, you eliminate the risk of manual error. To learn more about syncing stock levels, explore how Automated Labels: Optimize Sales Efficiency with Automated Inventory Updates can protect your brand reputation.
2. The "Best Seller" Social Proof Logic
Highlighting what others are buying reduces purchase friction for new visitors. Identifying best sellers manually requires cross-referencing analytics with product pages daily. Automation turns your sales data directly into marketing material.
How to implement:
- Define the timeframe: IF
Units Sold> 50 in theLast 30 Days. - Set the exclusion: AND
Product CategoryIS NOT "Accessories". - Execute: THEN apply "Trending Now" label.
Pro Tip: Don't just label everything a best seller. Use dynamic variables to show actual numbers like "50+ Bought This Week" for higher click-through rates.
3. The Margin-Based PMax Label (Custom Label 0)
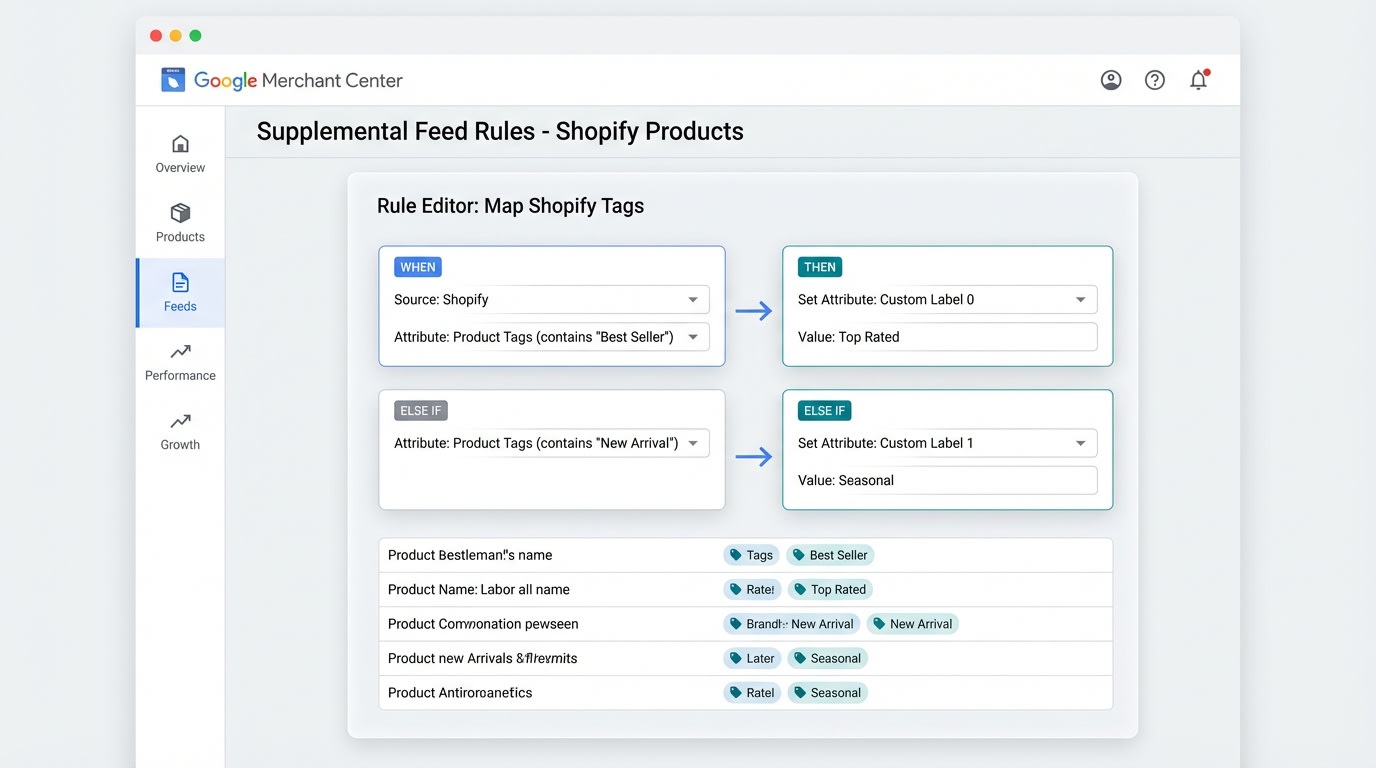
Mapping high-margin products to Google Merchant Center
This rule bridges your Shopify store and your Google Ads performance. Not all products deserve equal ad spend. Performance Max algorithms need you to tell them which products drive the most profit, not just the most revenue.
How to implement:
- Condition: IF
Margin> 50%. - Action 1: THEN add backend tag
High_Margin_Target. - Action 2: THEN map to GMC
Custom Label 0.
This allows you to segment your campaigns to push high-margin items aggressively.
4. The Automated Pre-Order Expectation Setter
Managing customer expectations during stockouts prevents chargebacks and support tickets. If a product is out of stock but available for backorder, the standard checkout button is misleading. The label must change dynamically.
How to implement:
- Condition 1: IF
Inventory Level= 0. - Condition 2: AND
Continue selling when out of stock= TRUE. - Action: THEN replace "Sold Out" with "Pre-Order" badge AND display expected shipping date.
5. The Tiered Discount & Clearance Automator
Manually adjusting discount badges when you drop prices takes hours. Pricing strategies change rapidly during seasonal transitions. Your labels must calculate the discount percentage automatically.
How to implement:
- Condition: IF
Compare at priceis GREATER THANPrice. - Action: THEN calculate discount percentage.
- Display: Show dynamic label "Save [X]%" on the product image.
Using a dedicated app like Fordeer Product Labels & Badges allows you to generate these dynamic math rules without writing Liquid code.
III. The Rule-Badge Conflict: Protecting Store Speed
Heavy Liquid modifications can slow down your storefront loading times.
Many merchants try to string together free tools or complex Shopify flow product labels logic to manage their badges. They eventually run into the rule-badge conflict.
1. Why Manual Tagging Breaks Themes
Many apps and workflows physically write and rewrite tags into your product database repeatedly. This causes flickering where the badge loads seconds after the image. It also slows down the theme due to bloated Liquid code.
Store speed is a critical SEO and conversion ranking factor. According to Portent, sites with a 1-2 second loading time convert at 3.05%. Every extra second of delay kills your sales!
2. Performance-First Automation
Modern apps handle rules virtually rather than rewriting database tags. A visual rule builder interface executes logic at the server level to deliver the image instantly.
This clean code approach keeps your site lightning fast. Paying for a dedicated app offers a much better cost-to-value ratio than losing sales to a slow, manually-hacked storefront. You get better performance and higher conversions.
IV. Conclusion
Setting up Shopify product label automation rules might seem technical at first, but it is the ultimate way to reclaim your time. When you automate product tags on Shopify, you ensure your visual badges and Google Merchant Center feeds are always perfectly synchronized.
You do not need to be a developer to implement these conversion-boosting strategies. With the right visual rule builder, you can deploy urgency, social proof, and clearance labels in minutes. Each step you take will make your storefront faster and more profitable.
Follow the Fordeer Team for more useful updates!
- Install Fordeer Apps for Free
- Get immediate assistance by chatting with us
- Join Fordeer Commerce Community for fresh app updates, expert tips, and private deals.

