Add Product Badges to Shopify Without Touching a Single Line of Code

Staring at your Shopify theme's default, uninspiring sale tag? You aren't alone. Many merchants want to upgrade their store's visual merchandising but freeze at the thought of breaking their store by editing complex Liquid files.
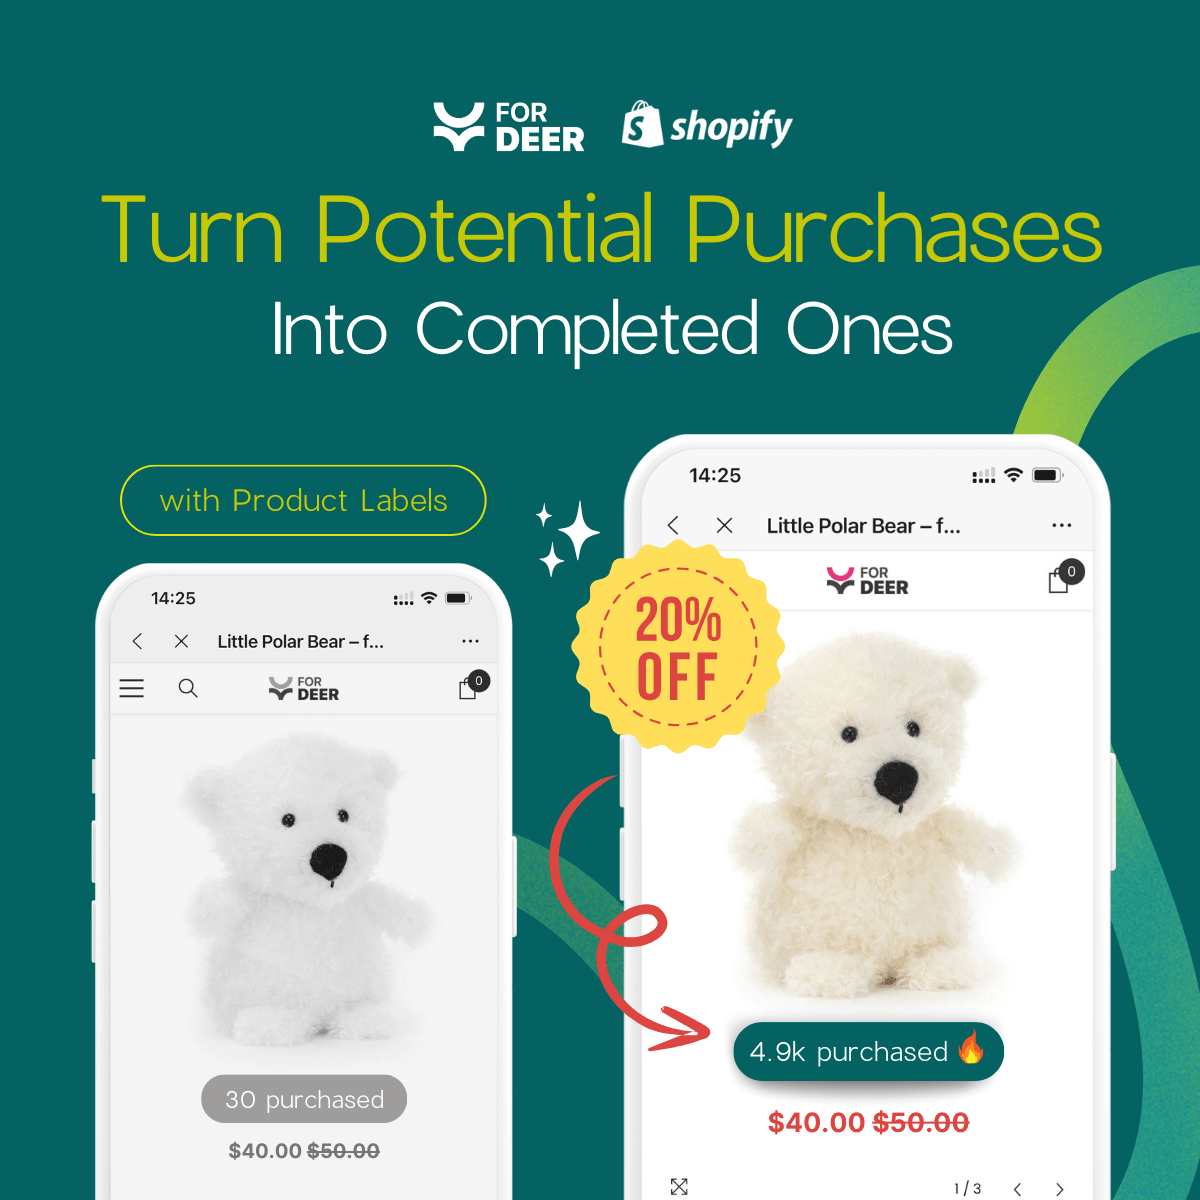
Product labels are powerful merchandising tools. In fact, strategic product badges can increase conversion rates by up to 25%. If you want these results, adding a shopify badge with no coding required is the safest and most efficient path forward for non-technical store owners.
In this guide, we will explore why standard themes eventually hold you back, exactly how to remove and customize badges without touching CSS, and how to keep your site lightning-fast in the process.
Let's get started.
I. The "Native Limit" Wall: Why Standard Themes Aren't Enough

Moving beyond Shopify's default badge limitations
1. The Reality of Default Compare-at Pricing
Most native Shopify themes (like Dawn or Vintage themes) handle sale tags through a rigid system. When you set a "Compare-at price" higher than the actual price, the theme automatically slaps a generic "Sale" sticker on your product card.
This creates a massive limitation. These native badges are static. They cannot dynamically display specific text like "20% Off", "Best Seller", or "New Arrival" based on your product metadata. You are stuck with a one-size-fits-all label that fails to highlight your true value proposition.
2. The Power of Dynamic Trust Signals
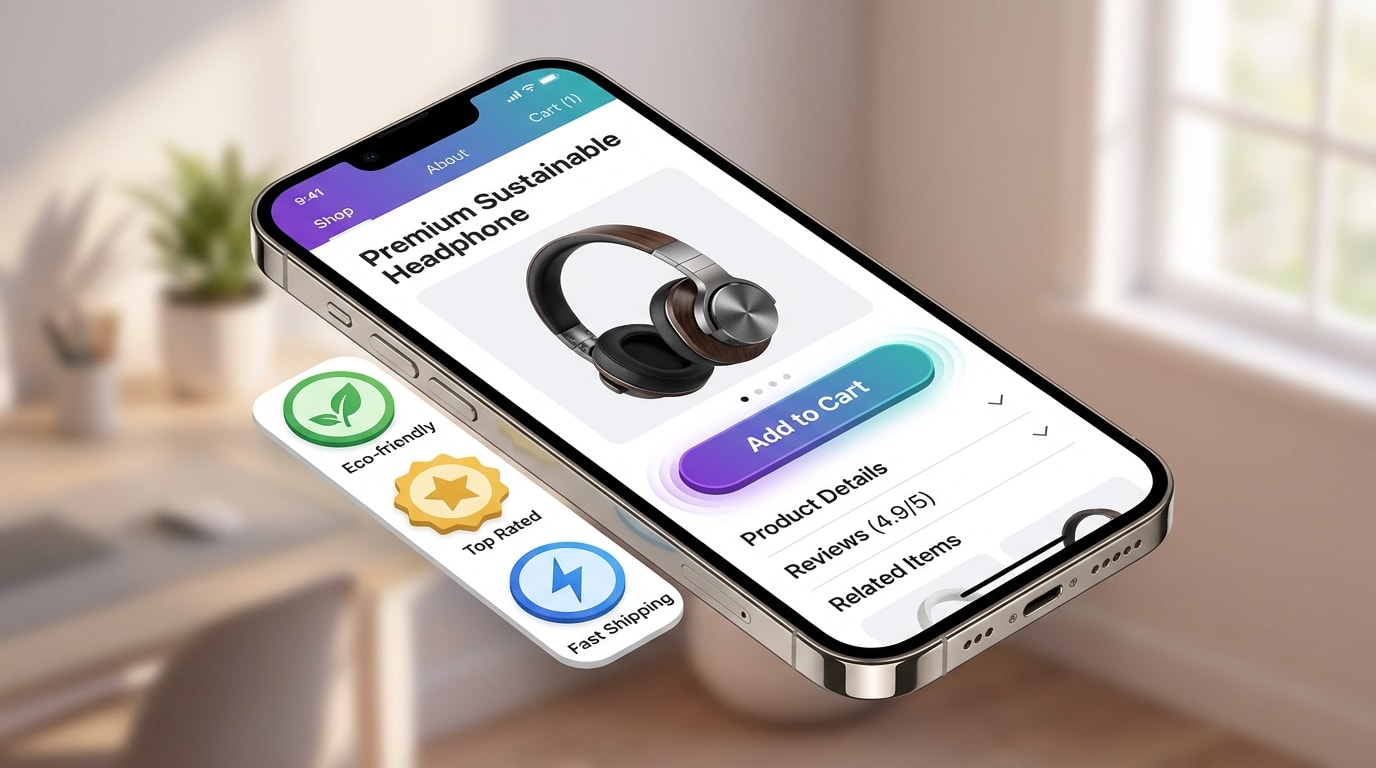
Generic sale badges blend into the background. Modern shoppers respond better to dynamic trust signals. Badges highlighting "Trusted Store," "Low Stock," or "Eco-Friendly" consistently outperform standard discount tags.
Strategic visual cues guide the customer's eye right where you want it. For a deeper dive into exactly which visual cues work best, check out our guide on Product Badges: How to Make Your Products Stand Out and Drive Sales. Using metadata-driven rules allows you to scale these powerful trust signals across a massive catalog instantly.
3. The Risk of Manual Liquid Edits
The biggest barrier to better merchandising is the fear of breaking the theme code. Manually editing your .liquid files to change a badge color or position is risky. A single missing bracket can crash your product page.
Furthermore, manual CSS edits require constant maintenance. Every time Shopify pushes a major theme update, your custom code risks being overwritten. Relying on a no-code visual builder means you eliminate maintenance headaches completely.
II. 6 Strategies to Customize Shopify Badges (No Coding Required)
Modern Shopify solutions allow full merchandising control visually. By utilizing App Blocks and intuitive dashboards, you can transform your product pages in minutes. Here is how to customize your storefront safely.
1. Safely Remove Default Sale Tags
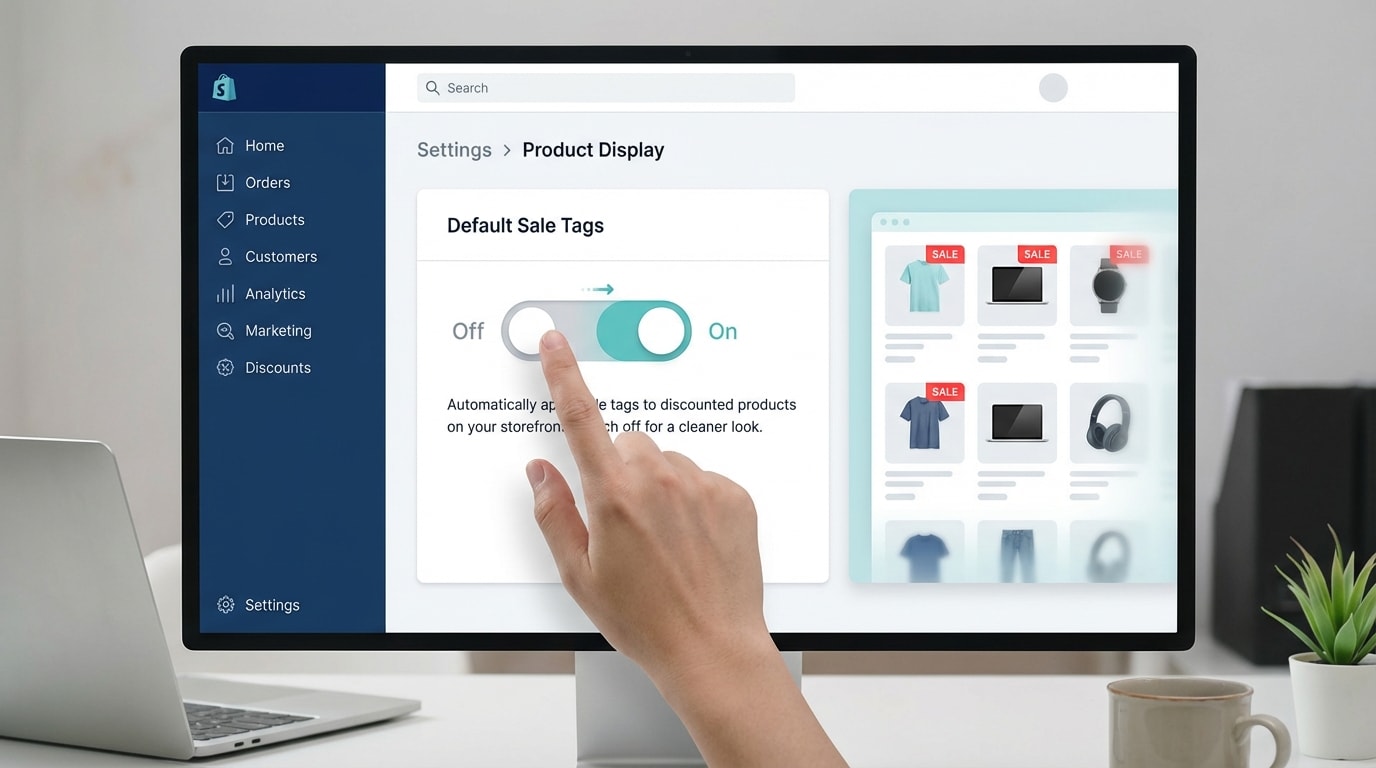
Clean up native theme clutter before adding custom labels
Removing the default Shopify sale badge without editing CSS is the crucial first step to better merchandising.
Why this matters: Default badges often look cheap or clash with your brand identity. This dilutes your store's premium feel. Clean visual slates allow your new merchandising strategy to pop.
Here is how to implement:
- Audit your theme settings: Navigate to the Shopify Theme Editor and disable default product card badges in the Theme Settings tab if your theme allows it.
- Clear compare-at prices: If you aren't using an app yet, temporarily adjusting your standard pricing logic clears the default tag automatically.
- Use a toggle app: The fastest method is using a dedicated product label app to hide standard tags instantly without digging into theme files.
2. Set Up Inventory-Based Automation Logic
Moving your value proposition from visual updates to actual merchandising efficiency drives real revenue.
Why this matters: Manually tagging products as they sell out is exhausting. Automation saves hours of administrative work while creating genuine urgency.
Here is how to implement:
- Define stock thresholds: Determine what "Low Stock" means for your specific catalog (for example, fewer than 10 items remaining).
- Create automated triggers: Use your visual app interface to set a rule like "If stock is less than 10, show Low Stock badge."
- Apply FOMO principles: Use urgent, specific phrasing like "Only 2 Left!" to drive immediate conversions from hesitant shoppers.
3. Build Collection-Specific Rules
Many merchants ask if they can add badges to specific collections only. With the right tools, the answer is an easy yes.
Why this matters: Relevancy is everything. A "Winter Clearance" badge belongs exclusively on outerwear, not your new summer arrivals.
Here is how to implement:
- Segment your catalog: Use Shopify's automated collections to group products by season, material, or vendor.
- Map badges to collections: Use the collection-based rule builder in your badge app to apply labels selectively to these exact groups.
- Stack rules carefully: Ensure your app handles prioritization correctly if a single product belongs to multiple active collections.
Pro Tip: Combine collection rules with dynamic percentage discounts to create highly targeted, automated holiday sale campaigns.
4. Customize Badge Design to Match Your Brand

Ensure your badges look native to your storefront
Customizing your label design ensures your store maintains a cohesive, premium aesthetic.
Why this matters: Shoppers notice when visual elements look out of place. Native-looking design builds immediate buyer trust.
Here is how to implement:
- Input brand hex codes: Don't settle for primary red or bright yellow. Use your exact brand color codes to maintain visual consistency.
- Adjust typography: Match the badge font to your Shopify theme's primary typography settings for a seamless look.
- Refine positioning: Move badges to specific positions on product images (top-left, bottom-right) using visual alignment tools instead of hacking margin CSS.
5. Leverage OS 2.0 App Blocks for Easy Placement
The technical distinction between modern OS 2.0 App Blocks and old Vintage Liquid edits is a game-changer.
Why this matters: App blocks reduce frustration by providing precise, drag-and-drop placement directly within the familiar Shopify editor.
Here is how to implement:
- Open Theme Editor: Go to your default product page template in any OS 2.0 theme (like Dawn or Sense).
- Add an App Block: Click "Add block," select your badge app's widget, and drag it exactly where you want it to appear.
- Save and preview: Verify the placement directly in the editor. You get perfect alignment without ever touching a JSON file.
6. Deploy a Lightweight No-Code App
Wrap your entire strategy together by installing a centralized, no-code solution.
Why this matters: Consolidating standard badge features into one smart management system prevents app bloat and keeps your backend organized.
Here is how to implement:
- Search the Shopify App Store: Look for dedicated product label apps specifically optimized for speed and OS 2.0 compatibility.
- Install Fordeer Product Labels: Utilize a seamless, one-click installation process to connect the software to your catalog.
- Activate your first campaign: Launch a "Best Seller" badge across your top-performing products in under 5 minutes. To master advanced setups, read our comprehensive Product Labels & Badges for Shopify: CRO Encyclopedia (2026).
III. How to Protect Your Mobile Site Speed
Maintain your Core Web Vitals while boosting visual merchandising
A common hidden question is whether custom badges will slow down mobile site speed. It is a valid concern. Heavy scripts can ruin your Core Web Vitals and hurt your search rankings.
1. Choose Liquid-Optimized Solutions
According to Shopify Performance Documentation, Liquid-based elements load significantly faster than heavy Javascript-based alternatives.
Modern apps inject code highly efficiently compared to outdated Vintage theme apps. When selecting a no-code badge builder, ensure it uses native Shopify rendering. If you are uploading custom image-based badges, always verify that your solution supports lazy-loading so your primary product images render first.
2. Verify Mobile Responsiveness
A beautiful desktop badge can easily become a mobile nightmare if it doesn't scale properly.
Ensure your no-code solution automatically scales text and graphics down for smaller mobile screens. Check your live store on a real phone to confirm that badge placements do not block critical mobile UI elements (like your Add to Cart button, price tags, or product image carousel arrows). Finally, test your product pages using Google PageSpeed Insights post-installation to confirm your metrics remain strong.
IV. Conclusion
Customizing your storefront shouldn't require a developer on retainer. By bypassing native theme limits and strategically utilizing modern app blocks, you can add any Shopify badge with no coding required.
Whether you are automating low-stock warnings or perfectly matching your brand colors, taking control of your visual merchandising is easier than ever. Don't let the fear of breaking your theme hold back your sales potential. Start with a simple bestseller badge today, test the results, and scale up your strategy as your conversions grow. You have the exact tools needed to boost your sales right now.
Follow the Fordeer Team for more useful updates!
- Install Fordeer Apps for Free
- Get immediate assistance by chatting with us
- Join Fordeer Commerce Community for fresh app updates, expert tips, and private deals.

