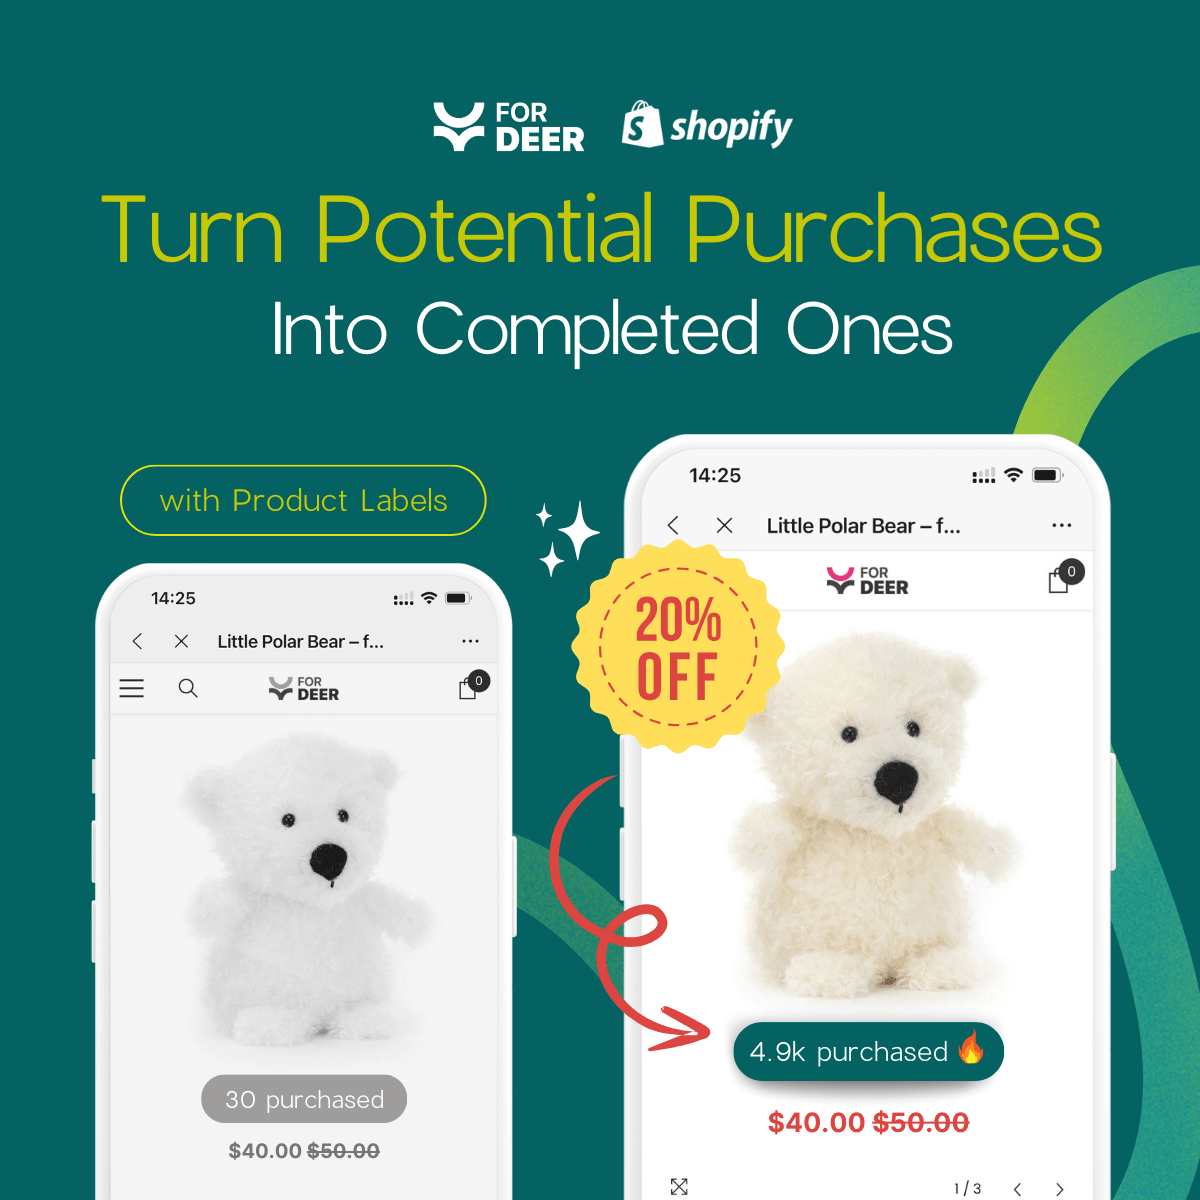
How to Automatically Badge Discounted Products on Shopify

With over 270 badge and icon apps flooding the Shopify App Store, merchants are suffering from badge overload. While trying to highlight discounts, many are accidentally destroying their mobile shopping experience with overlapping images and terrible page loading speeds.
Adding a Shopify badge for sale products should be a simple way to increase click-through rates. However, relying on outdated Liquid code injections or heavy third-party scripts often causes Cumulative Layout Shift (CLS). This penalizes your store's SEO and frustrates buyers.
In this guide, we will look at the hidden costs of poorly optimized labels. We will compare manual setups versus modern solutions and walk through six actionable strategies to design high-converting, lightweight sale badges.
Let's get started.
I. The Hidden Cost of Shopify Product Badges
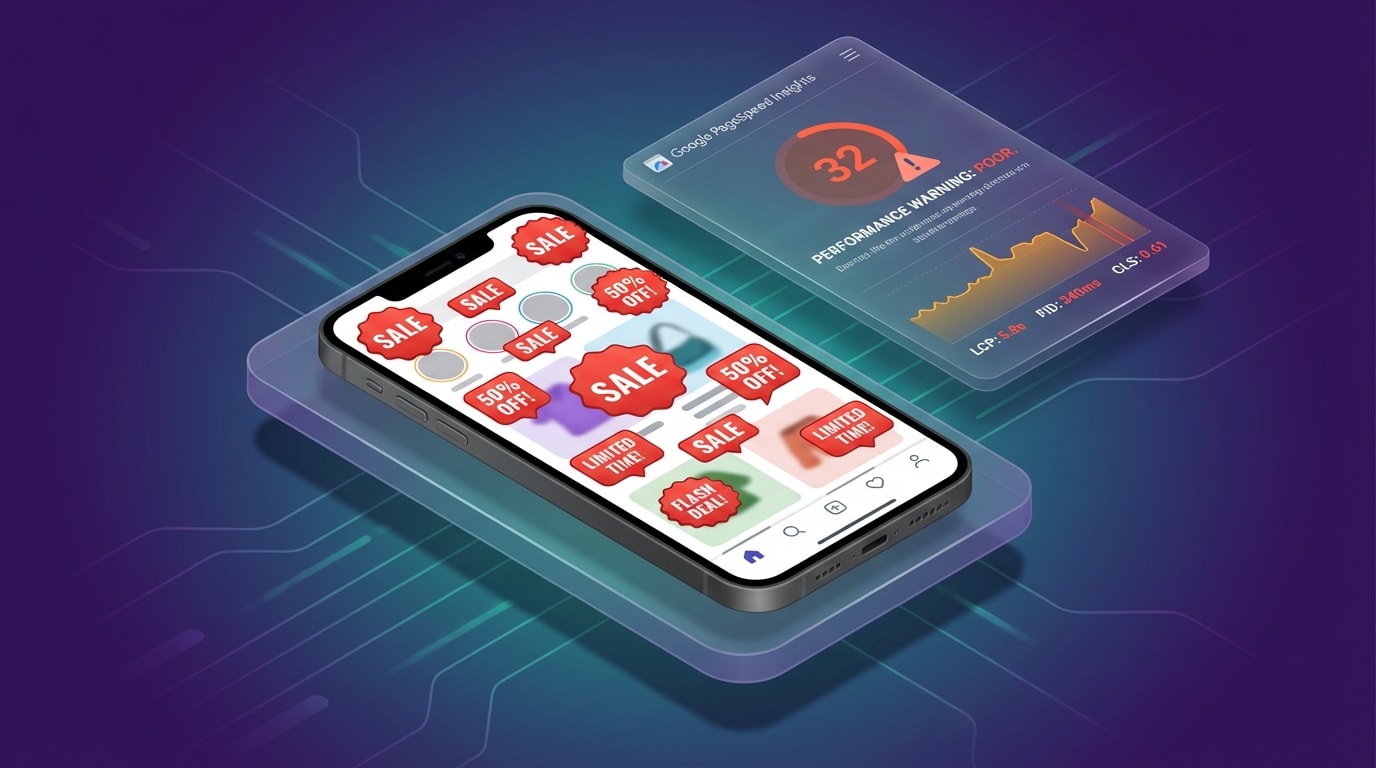
Too many unoptimized badges can ruin your mobile product imagery and tank your Core Web Vitals.
Before installing another app to highlight your discounts, you need to understand the performance tax associated with store design elements. Adding visual labels incorrectly directly impacts your bottom line.
1. The Core Web Vitals Threat (CLS)
Cumulative Layout Shift (CLS) measures visual stability on your website. When elements load late and push other content around, your CLS score skyrockets.
Late-loading badge scripts are the primary offenders here. If a shopper goes to click a product, but a "30% Off" badge suddenly renders and shifts the entire product grid down, they click the wrong item. The result? Immediate frustration and a likely bounce. Google heavily monitors CLS. High scores directly lead to lower mobile SEO rankings, cutting off your organic traffic.
2. Mobile Real Estate Issues
A badge that looks perfectly sized on a desktop monitor can completely cover your product on a smartphone screen.
Mobile-first shoppers need to see the actual product details to make a purchasing decision. The standard approach of slapping a massive sticker across the image fails on small screens. It blocks crucial visual details, ruins your aesthetic branding, and makes your store look like a cluttered spam site rather than a premium brand.
3. The 270+ App Dilemma
A quick search on the Shopify App Store reveals over 270 available apps for store design and badges.
Having too many choices often leads to bloated, overlapping app installations. Merchants will install one app for a trust icon, another for a discount label, and a third for out-of-stock banners. These apps fight for visual dominance and load priority. To protect your site speed and visual clarity, you need a consolidated, lightweight solution instead of multiple heavy scripts.
II. Adding Badges: Manual Coding vs. Modern Apps
You can trigger basic badges natively, but advanced customization requires OS 2.0 blocks.
You have two main paths for activating sale tags on your store. The right choice depends entirely on your need for customization and your theme architecture.
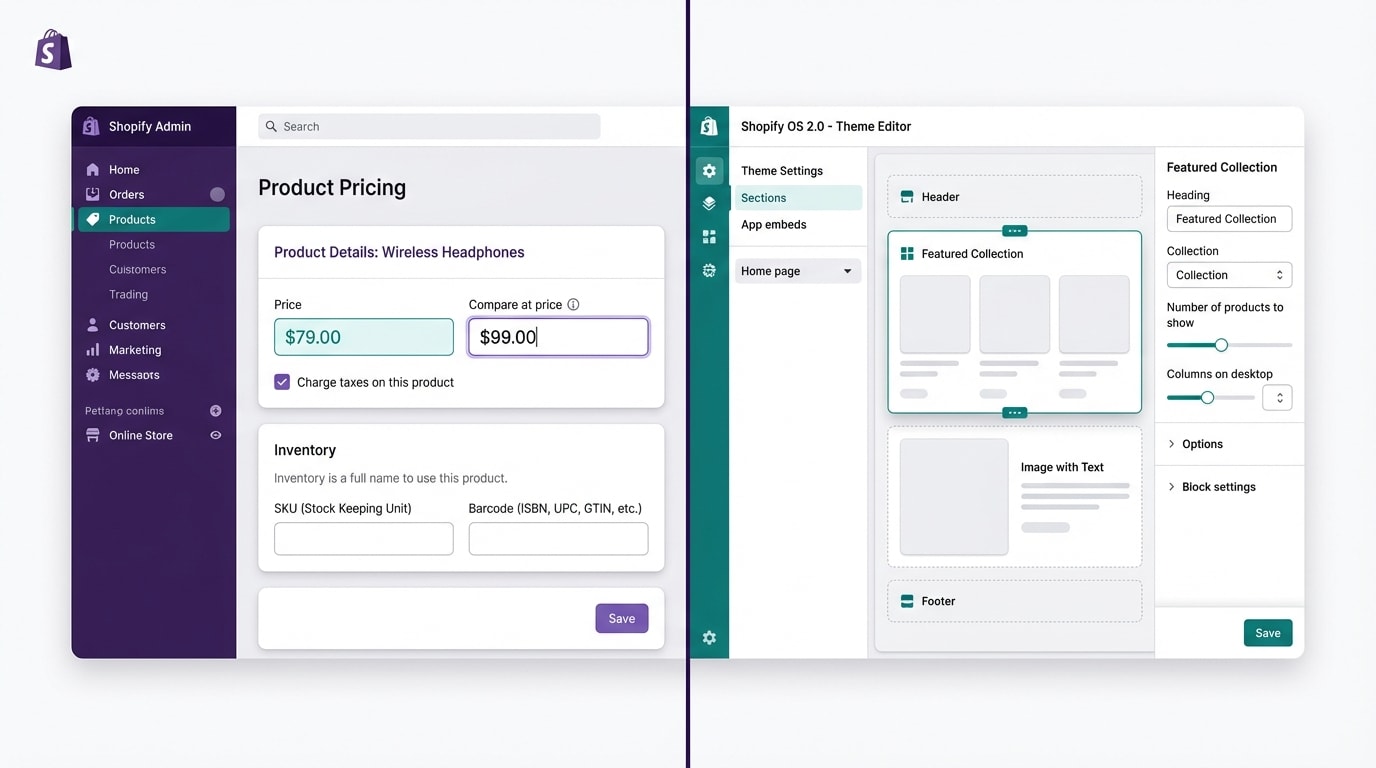
1. The Manual Method: Compare-At Price
You can activate the default Shopify sale tag entirely without apps. This relies on your theme's native code.
Here is how to do it:
- Open your Shopify Admin and navigate to Products.
- Select a specific product to edit.
- Scroll down to the Pricing section.
- Enter your original higher price into the Compare-at price field.
- Enter your discounted price in the Price field.
- Click Save.
This method is great for basic, zero-app performance. Because the badge relies on native code, it loads instantly. However, the limitations are severe. You are stuck with a rigid design and you cannot change the text. Your theme dictates whether it says "Sale" or shows a percentage, and you cannot switch it easily.
If you want to move beyond these basic limitations and design a strategic campaign, learn how to use product labels to highlight special offers on Shopify to take full control of your visual merchandising.
2. The Modern Way: OS 2.0 Theme Blocks
The eCommerce industry has shifted entirely away from messy Liquid code edits. In the past, apps would inject code directly into your theme.liquid file, slowing down your store permanently.
Modern apps (like Fordeer Product Labels & Badges) integrate directly into the Shopify Theme Editor using Online Store 2.0 App Blocks.
Why this is the better approach:
- Instant load times: Badges load natively alongside your theme elements.
- No leftover code: If you uninstall the app, the blocks disappear cleanly.
- Total customization: You manage placement, text, and design directly inside the Shopify Customizer.
This solves both the customization problem and the site speed problem simultaneously.
III. 6 Tips to Optimize Sale Badges for Conversion
How a badge looks and exactly where it sits on your product card is just as important as having one at all. Visual strategy drives clicks. Here are six actionable ways to maximize the impact of your discount labels.
1. Apply the Rule of 100 for Discount Text
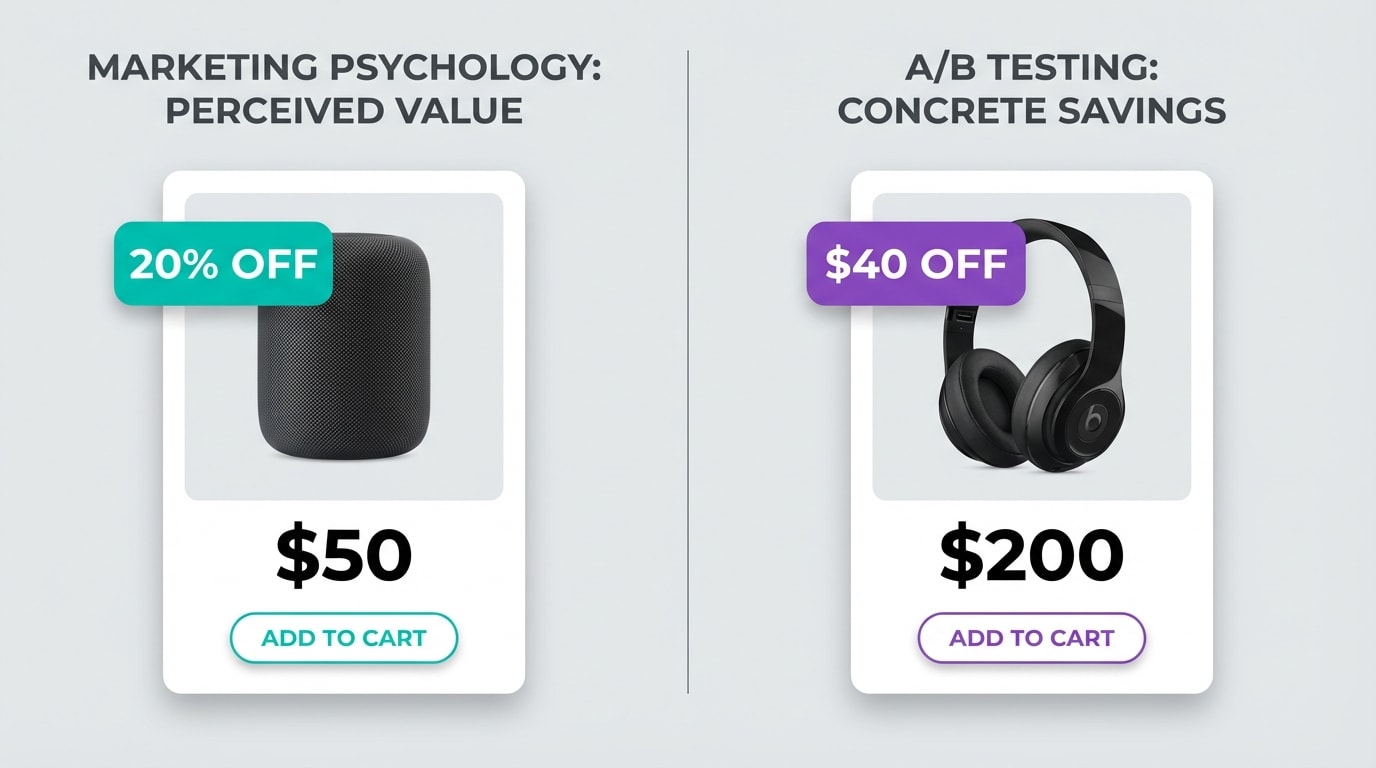
The Rule of 100 dictates whether a percentage or absolute dollar amount looks more appealing.
Many merchants struggle with deciding whether to display a percentage or a flat dollar discount on their badges.
Why this matters: The perceived value of the deal drives the click. Shoppers do not want to do mental math. They want to know immediately if the deal is worthwhile.
Here is how to implement the rule:
- For items under $100: Use percentage-based text badges (like "20% Off"). A 20% discount on a $20 shirt sounds like a much bigger deal than "Save $4."
- For items over $100: Use absolute numerical values (like "Save $50"). On a $500 laptop, a $50 discount sounds much more substantial than "10% Off."
- Action step: Audit your catalog today. Use a dynamic label app to swap text rules based on the product's base price automatically.
2. Limit Badges to 10% of Mobile Thumbnails
The Problem: Badges that look amazing on a wide desktop monitor often obscure the entire product on a mobile screen. When a shopper cannot see the details of a jacket or the texture of a rug, they will not click through to the product page.
The 10% Rule: Keep your visual icons restricted to one single corner. They should take up no more than 10% of the total image area on a mobile view.
How to fix it: Ensure your badge app has mobile-specific scaling features. Do not just rely on the Shopify theme previewer. Test your top five bestsellers on a real smartphone. Scroll through your collection pages and verify that the product itself remains the hero of the image, not the discount sticker.
3. Stick Strictly to OS 2.0 Theme Blocks
Using outdated apps that inject Liquid code into your theme files is a fast track to a slow store.
Why this matters: Leftover code from deleted apps causes permanent load lag. Every time your page loads, it searches for scripts that no longer exist, causing noticeable delays for your customers.
How to implement:
- Audit existing apps: Remove older badge apps that require manual code installation or copy-pasting snippets.
- Upgrade your theme: Ensure you are using a Shopify Online Store 2.0 theme (like Dawn or any modern premium theme).
- Use block-native apps: Only install labeling tools that allow you to drag and drop badges directly inside the Shopify Theme Customizer.
Pro Tip: If an app asks you to copy-paste snippets into your theme files in 2026, uninstall it immediately to protect your site speed.
4. Sync Labels with Live Inventory
Nothing frustrates a customer more than clicking a highly visible "Hot Sale" badge only to find the item is completely sold out in their size.
Why this matters: Accurate availability builds trust. It also utilizes authentic scarcity to drive immediate conversions.
How to implement:
- Automate triggers: Set your badges to automatically switch from "Sale" to "Almost Gone" when inventory drops below five units.
- Auto-hide features: Ensure labels instantly disappear or switch to "Sold Out" the moment stock hits zero.
- The Benefit: This prevents manual updating errors during high-volume events like BFCM and keeps your catalog looking fresh.
For more inspiration on driving urgency, explore these creatives ideas to utilize Shopify product badges to attract customers and keep your inventory moving fast.
5. Strategize Your Corner Placement
Top-left placement aligns with natural western reading patterns, making the deal immediately visible.
Where you place the badge directly impacts how quickly the customer's brain processes the discount. Placement dictates visibility.
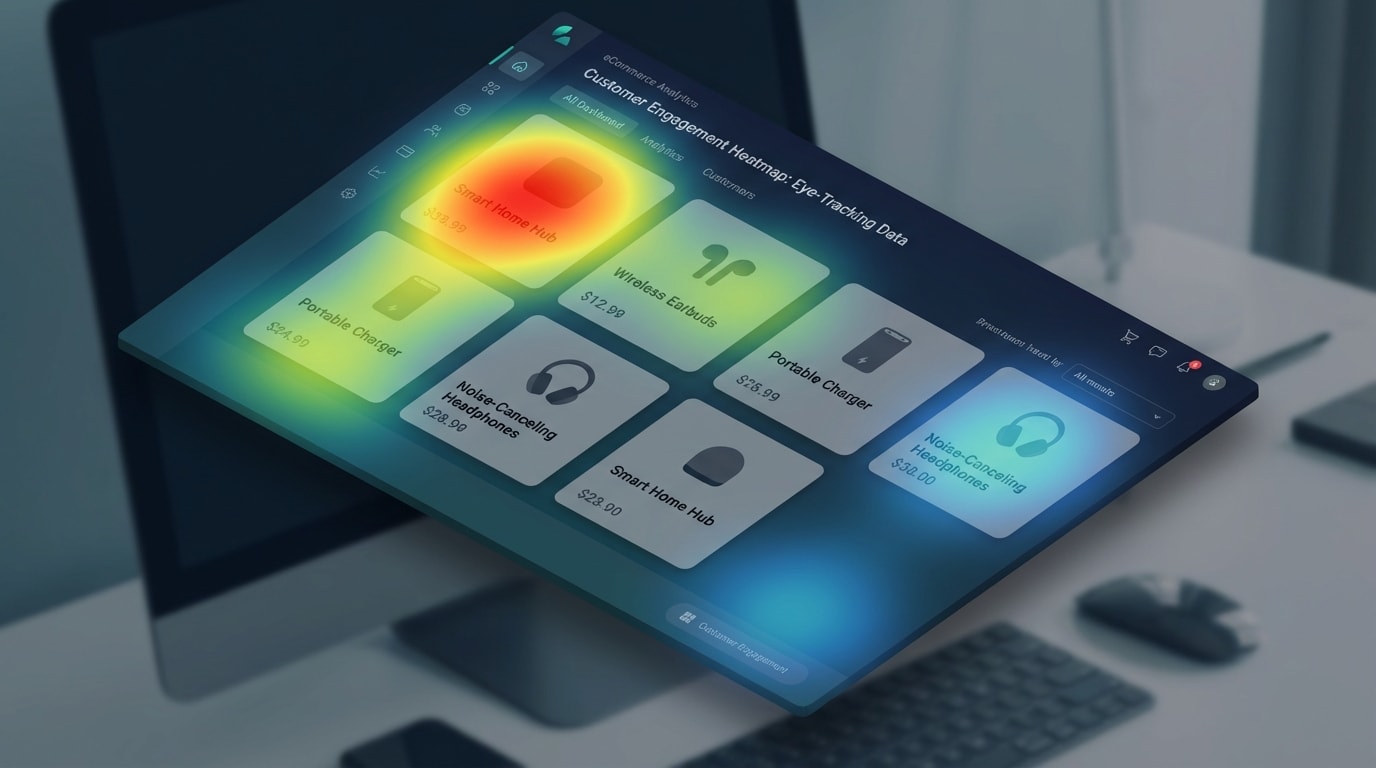
Why this matters: Heatmaps show that online shoppers scan product grids in an F-shaped pattern.
Here is how to place your badges:
- Top-Left: This is the absolute best placement for "New" or "Sale" alerts. Eyes naturally start scanning here.
- Top-Right: This corner is good for secondary trust icons, like "Eco-friendly" or "Bestseller."
- Bottom-Left and Bottom-Right: Reserve these lower zones for less urgent information. Avoid them entirely if your specific Shopify theme uses quick-add-to-cart buttons hovering in these areas.
6. A/B Test Your Badge Copy
Do not just set a basic "Sale" badge and forget about it. Text variations can drastically alter your click-through rates.
Why this matters: Different audiences respond to different emotional triggers. Some want the cheapest price, while others fear missing out on a limited opportunity.
Here is how to test your copy:
- Week 1: Test urgency-based text across your catalog. Use phrases like "Ending Soon," "Flash Deal," or "Last Chance."
- Week 2: Test value-based text on those same products. Use phrases like "Save 30%," "Clearance," or "Wholesale Price."
- Review the data: Use your Shopify analytics to see which variation drove a higher add-to-cart rate for the exact same product. Commit to the winner for your next major promotional event.
IV. Planning Your Store's Visual Hierarchy
When optimizing a Shopify badge for sale products, you might also be juggling trust badges, low-stock warnings, and free shipping banners. You need to prioritize them without causing visual clutter. Here is how to maintain a clean aesthetic while still highlighting your offers.
1. Establish a Hierarchy of Importance
Visual clutter destroys conversions. A strict rule of thumb is to never use more than two badges per product image at any given time.
Decide exactly what matters most for a specific product. Is it the discount amount, or is it the urgency of low stock? Choose the primary driver and highlight it. Use colors strategically to reinforce this hierarchy. Reserve bold red exclusively for active sales. Use subtle greys or muted tones for secondary information like out-of-stock warnings or eco-friendly tags.
2. Differentiate Collection vs. Product Pages
Your collection page grid needs to remain easy to scan. Keep collection page badges minimal. Stick to simple text like "Sale" or concise percentages. Avoid dropping massive icons here to prevent overwhelming the grid layout.
Save your highly detailed trust icons specifically for the individual product page. Place badges like "Secure Checkout," "24/7 Support," or "Money Back Guarantee" directly under the Add to Cart button. This places the reassurance exactly where the customer experiences pre-purchase friction.
3. Routinely Audit PageSpeed Insights
Your store's performance is not a set-it-and-forget-it metric. Make it a monthly habit to run your top-selling product pages through Google PageSpeed Insights.
Look specifically for the CLS (Cumulative Layout Shift) metric. If your CLS score jumps above 0.1 after you design and publish a new label campaign, your app is too heavy or loading incorrectly. A fast store always outperforms a slow store with pretty badges. Prioritize lightweight block-native apps to keep this metric in the green.
V. Conclusion
Optimizing your Shopify badge for sale products does not have to mean sacrificing your store's mobile performance. By understanding the hidden costs of heavy apps and utilizing modern OS 2.0 theme blocks, you can display high-converting discounts that load instantly.
Whether you are applying the Rule of 100 to your discount text or carefully managing your visual hierarchy to avoid mobile clutter, the right label strategy will naturally drive higher click-through rates. You have the tools to do this right. Start auditing your current badges today and watch your engagement metrics climb.
Follow the Fordeer Team for more useful updates!
- Install Fordeer Apps for Free
- Get immediate assistance by chatting with us
- Join Fordeer Commerce Community for fresh app updates, expert tips, and private deals.

