How to Display a Pre-Order Label on Your Shopify Product Page

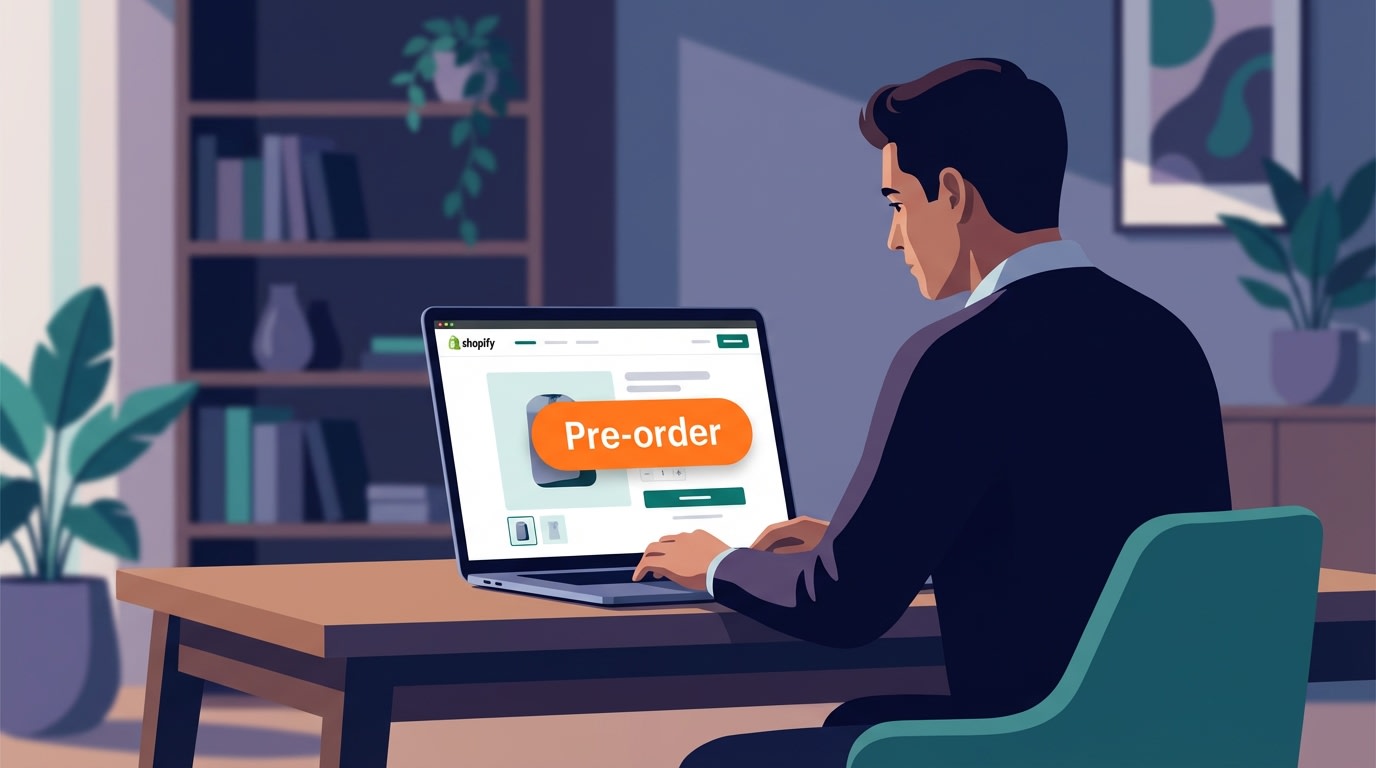
There is nothing more frustrating than launching a highly anticipated product, only to have your store display a massive, conversion-killing "Sold Out" button. Customers bounce instantly, assuming they missed their chance completely.
Proper shopify pre-order badge label display solves this visual communication gap. While many older tutorials tell you to hack your theme's Liquid code, modern Online Store 2.0 architecture offers much safer, dynamic ways to switch labels automatically based on real-time inventory levels.
In this guide, we will break down why legacy code edits are risky, how to leverage OS 2.0 App Blocks, and the most effective strategies to design and automate pre-order badges that actually drive sales.
Let's get started.
I. Overview of Pre-Order Badges and Compliance
Proper labeling prevents customer confusion and ensures legal compliance.
Before touching any code or installing apps, you need to understand why these badges matter. It comes down to buyer psychology and legal requirements.
1. The Cost of Cognitive Dissonance
Imagine a customer clicks an ad for an upcoming product. The title says "Pre-order", but the image overlay screams "Sold Out". This creates immediate cognitive dissonance. The brain processes the red warning label faster than the text, causing shoppers to abandon their carts.
Clear visual badges eliminate this confusion immediately. Color psychology plays a massive role here. Red signals shoppers to stop. Orange acts as a caution or action color. Switching from a red out-of-stock badge to a bright orange pre-order label keeps the buying momentum alive. You can learn more about maximizing conversions with these visual cues in our Product Labels & Badges for Shopify: CRO Encyclopedia (2026) guide.
2. Legal Compliance: The FTC 30-Day Rule
Running a pre-sale requires strict adherence to the FTC 30-Day Rule for Mail Order. You cannot simply collect money and hide your fulfillment timeline.
If you fail to ship within the stated time, you must notify the customer and offer a refund. Hiding shipping dates or using vague back-order language on product photos can cause serious legal trouble. Your badge display strategy must align directly with clear communication. Customers need to know exactly when that partial fulfillment or expected delivery date will happen.
II. The Technical Foundation: App Blocks vs. Legacy Liquid
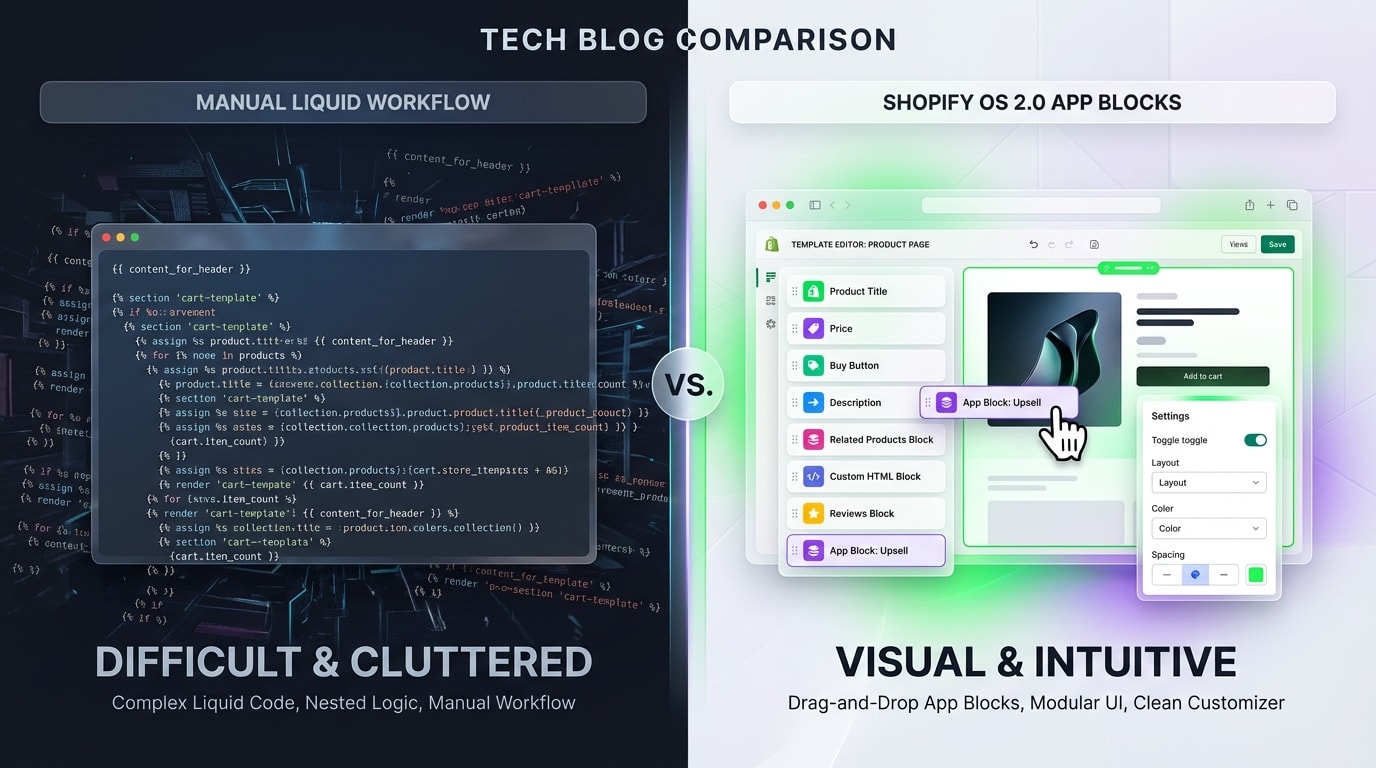
OS 2.0 App Blocks have revolutionized how we add elements to product photos.
Adding labels used to be a technical nightmare. Today, Shopify gives you much better tools to handle inventory displays.
1. The Danger of "Theme Debt"
Older tutorials often tell you to open your code editor and modify card-product.liquid or main-product.liquid directly. This is a massive mistake.
Custom Liquid code breaks easily. When you upgrade a modern theme like Dawn or Symmetry, those manual edits get wiped out. This creates theme debt. It becomes a technical barrier that eventually costs money and development hours to fix.
2. Understanding Inventory Logic Triggers
Shopify natively tracks when an item crosses into back-order territory. The developer logic is simple. It looks at whether your stock is inventory_quantity > 0 or < 0.
When you allow customers to purchase out-of-stock items, Shopify flags this state. OS 2.0 App Blocks act as a modern bridge. They read this inventory logic and display the correct badge without altering your core theme files. This keeps your code clean and your store fast.
III. 5 Strategies to Optimize Your Pre-Order Badge Display
Properly configuring your labels requires a mix of technical setup and design optimization. Here are the most effective ways to manage your Shopify pre-order badge label display.
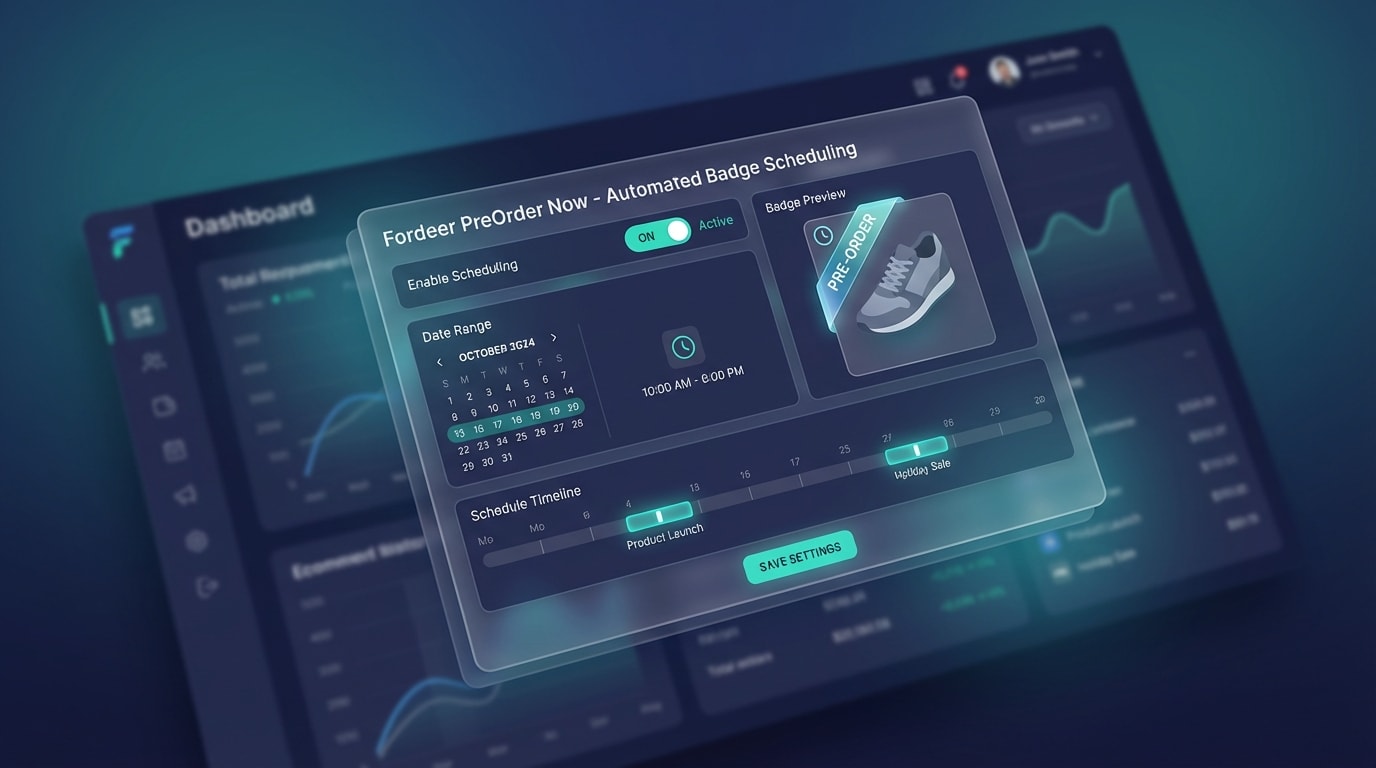
1. Automate Display with OS 2.0 Native Apps
Using a native app block ensures your theme remains pristine.
The absolute safest way to handle labels without breaking your store is using a no-code solution like Fordeer PreOrder Now.
Why this matters: It completely eliminates theme debt. It also handles complex partial fulfillment logic automatically without requiring a single line of code.
How to implement:
- Install safely: Use the Shopify App Store to add the app directly to your store.
- Enable App Blocks: Go to your Theme Editor, add the Pre-order App Block, and drag it over your product image layout.
- Set automation: Configure rules to auto-hide the badge once items are back in stock.
This method ensures 100% compatibility with top OS 2.0 themes like Dawn, Symmetry, and Venue.
2. Change "Sold Out" Text in the Theme Editor
If you want a native, app-free approach for a single product line, you can modify your theme's default language settings.
Why this matters: It is a quick, free workaround for merchants managing very small, manual inventories.
How to implement:
- Access languages: Go to Online Store > Themes > Edit Default Theme Content.
- Search for sold out: Type "Sold Out" into the filter bar.
- Replace text: Under the Products tab, simply change the text to "Pre-order Now".
Pro Tip: This changes the label globally. If you sell both regular and pre-order stock simultaneously, this method will accidentally mislabel your standard out-of-stock items.
3. Style High-Signal Badges with Custom CSS
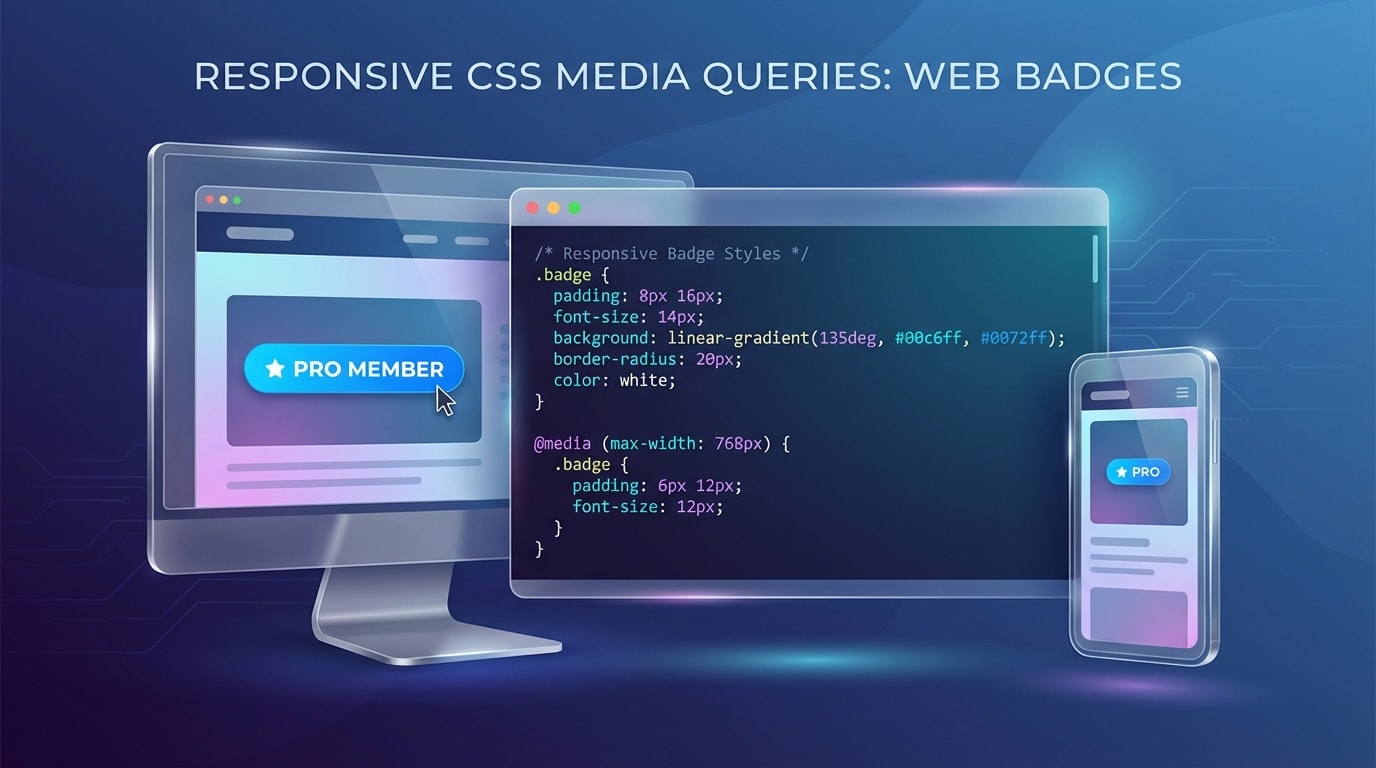
A few lines of CSS can make your labels stand out perfectly on mobile.
Your pre-order label shouldn't look like an afterthought. It needs distinct, conversion-focused styling.
Why this matters: Design heavily influences your conversion rates. A high-signal custom label bubble catches the eye instantly and drives action.
How to implement:
- Target the badge class: Inspect your product page to find the exact CSS class (like
.badge--bottom-left). - Apply color psychology: Use CSS to change the background to an attention-grabbing color like
#FF8C00(Dark Orange). - Ensure mobile responsiveness: Add CSS media queries. Adjust the font size and padding so the badge never covers the actual product image on smaller screens.
4. Override Theme-Specific Priority Hiding
Certain premium themes have built-in logic that prioritizes "Sale" badges over everything else. This effectively hides your pre-order labels.
Why this matters: You lose the pre-order context completely if your theme suppresses the custom badge. Fixing this is crucial, and it serves as a foundational step when executing a 5-Step Preorder & Presale Strategy to Build Customer Loyalty on Shopify.
How to implement:
- Check theme settings: Look in your Theme Customizer under "Product Grid" for specific badge priority toggles.
- Use Product Tags: Ensure your product has a specific tag (like
pre-order) that your theme relies on to trigger secondary badges. - Isolate collections: If the theme refuses to show both badges, create a dedicated "Pre-order Collection" with a customized template layout.
5. Display Dynamic Shipping Dates via Metafields
Instead of a generic badge, you can inject real-time data directly into the overlay label.
Why this matters: It directly answers customer questions about fulfillment timelines. This fulfills FTC requirements and builds instant trust with hesitant buyers.
How to implement:
- Create a metafield: Go to Settings > Custom Data > Products and create a date-type metafield.
- Input the date: Add the expected shipping date to your specific product backend.
- Connect the dynamic source: In the Theme Editor, click the dynamic source icon on your App Block or Text block. Pull that exact date into your label text to display "Pre-order: Ships [Date]".
IV. Other Things to Keep in Mind
Getting the badge to show up is the first step. You also need to ensure it plays nicely with your overall store architecture.
1. Handling CSS Badge Stacking Conflicts
When a product is both on sale and on pre-order, default Shopify CSS often stacks the labels awkwardly. Sometimes they overlap entirely.
To fix this, you must adjust the flexbox or grid layout of your card-information container. Rather than using absolute positioning, set your labels to display as an inline-flex row. Add a small gap (gap: 0.5rem;) between them. This allows both the "Sale" and "Pre-order" visual cues to breathe naturally on the product card.
2. Updating Your JSON-LD SEO Schema
Visual badges do not communicate with Google. If your front-end label says "Pre-order" but your SEO schema still reports OutOfStock, you have a problem.
You will lose valuable rich snippet visibility on the Search Engine Results Pages (SERPs). You must ensure your product's ItemAvailability schema is actively updated to https://schema.org/PreOrder. Many SEO tools and dedicated pre-order apps handle this automatically. This ensures Google Search Console reads your active inventory correctly.
V. Conclusion
So there you go. Mastering your Shopify pre-order badge label display isn't just about tweaking code. It is about protecting your revenue and communicating clearly with your customers.
Preparation is important. You don't have to tackle everything at once or risk breaking your theme with legacy Liquid edits. Start with OS 2.0 App Blocks and basic inventory logic. You can seamlessly transition those conversion-killing "Sold Out" buttons into powerful pre-order opportunities. Remember, transparency builds trust. A highly visible, automated badge is your first step toward a successful pre-sale campaign.
Follow the Fordeer Team for more useful updates!
- Install Fordeer Apps for Free
- Get immediate assistance by chatting with us
- Join Fordeer Commerce Community for fresh app updates, expert tips, and private deals.

