New Arrival Labels on Shopify: How to Set Them Up and When to Use Them

Manually tagging new products every week is a tedious chore that leaves too much room for human error. While Shopify Flow offers automation, it often excludes basic plan users. This leaves many merchants stuck doing repetitive administrative work instead of growing their business.
Building a reliable shopify new arrival label setup shouldn't require constant maintenance or an enterprise-tier subscription. By leveraging hidden Liquid logic, you can completely automate how badges appear on your product grid.
In this guide, we will walk you through bypassing manual tags using dynamic Liquid attributes. We will share responsive CSS visual templates and help you decide when it's time to upgrade from manual coding to a dedicated app.
Let's get started.
I. Overview of Automated Product Badging
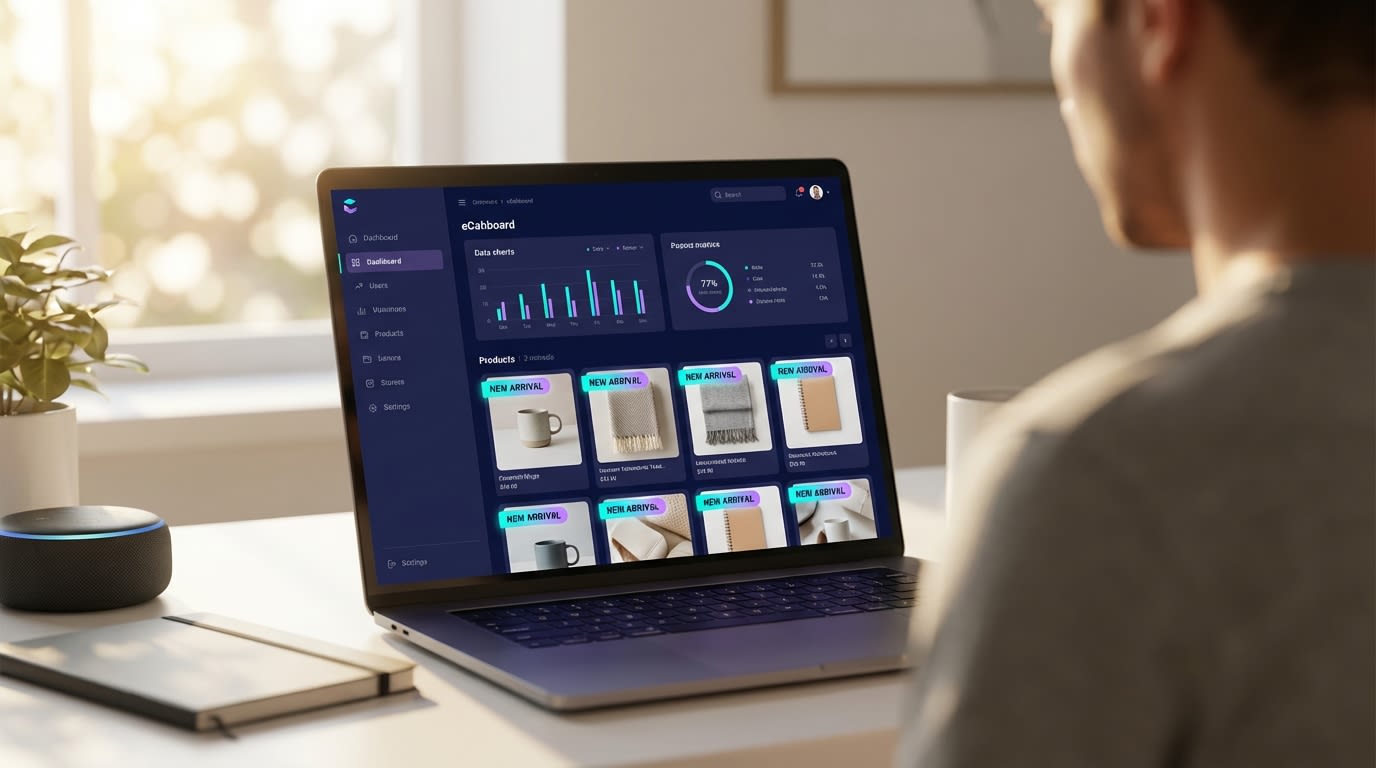
Automating your product labels saves hours of manual store management.
1. The Conversion Power of Visual Labels
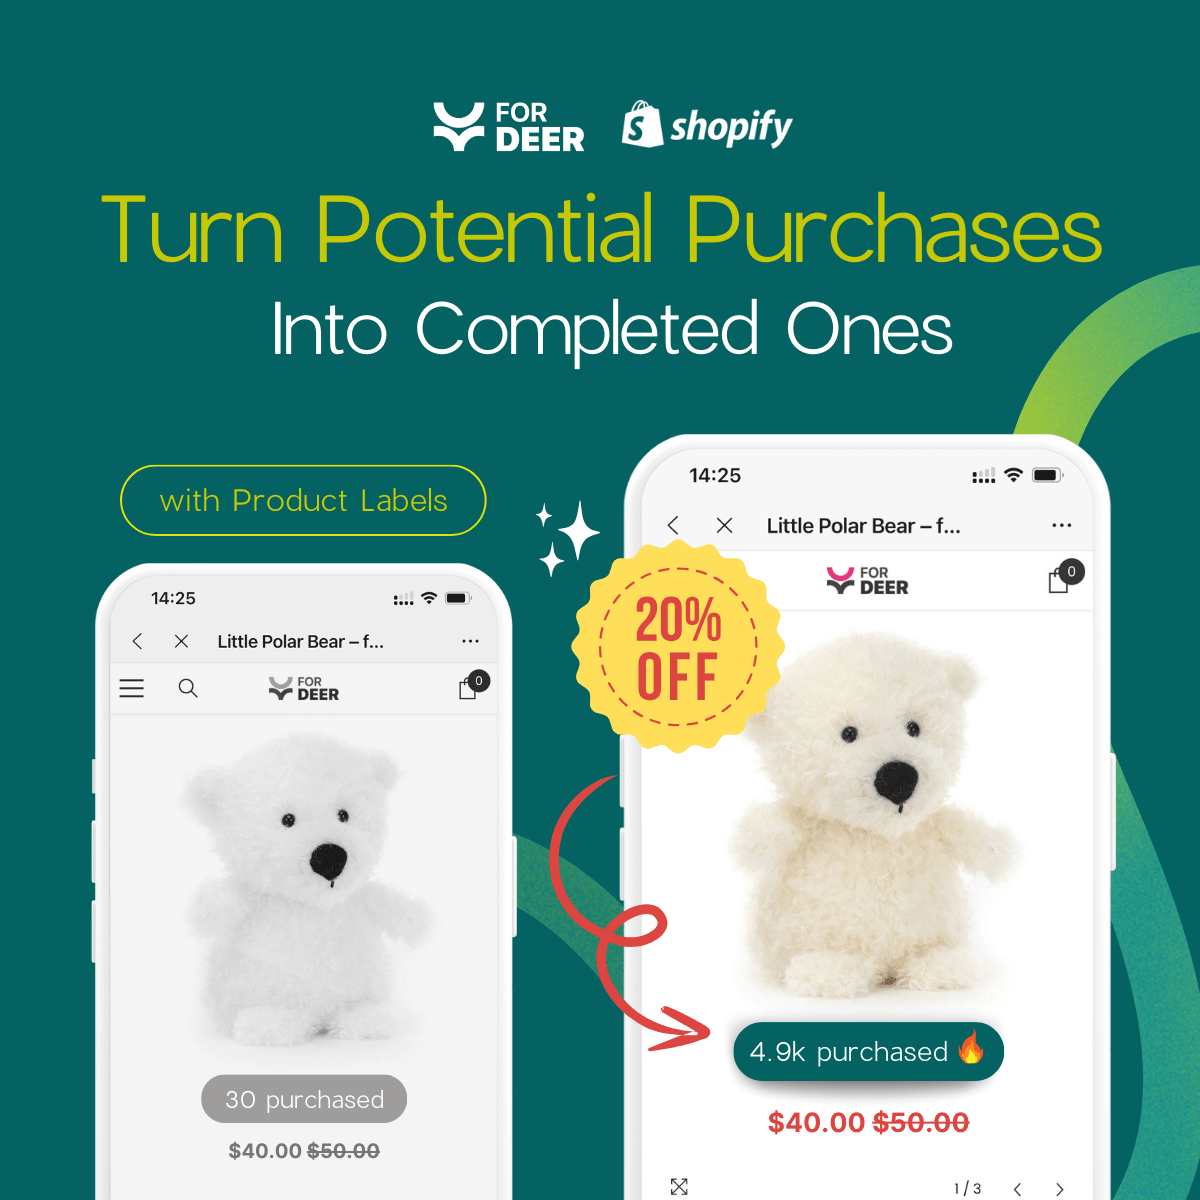
Clear visual indicators dramatically improve the customer browsing experience. When shoppers land on your collection pages, they want to quickly identify what is fresh and relevant.
Why this matters: Data shows that placing clear product badges on grid images can increase conversion rates by up to 15%. Visual cues reduce friction in the mid-funnel browsing stage by guiding the customer's eye directly to your newest inventory. For a complete strategy on visual indicators, read our guide on how to use product labels to highlight special offers on Shopify.
2. Why Shopify Flow Isn't the Only Answer
Many merchants believe Shopify Flow is the only way to automate store operations. Flow is a powerful tool, but it is restricted to Advanced and Plus tier plans.
Relying on manual product tagging is also a flawed strategy. When you manually add a "New" tag to a product, you have to remember to remove it 30 days later. As your catalog grows, this manual maintenance breaks at scale and leads to outdated labels displaying on older products.
3. The "Hidden" Liquid Strategy
The most stable foundation for a custom label setup lives right inside your theme code. Shopify Liquid contains a global attribute called created_at.
By using time-based math, your theme can automatically calculate the exact age of a product. If the product is under 30 days old, the label displays. If it is older, the label disappears automatically. This creates a completely hands-off system.
II. High-Converting CSS Label Templates
Search data shows merchants are actively looking for a reliable shopify new arrival label setup template. Instead of using a generic text overlay, you need a design that drives clicks. Here are three conversion-optimized visual approaches you can implement via CSS.
1. The Classic Corner Ribbon
The corner ribbon is an eCommerce standard that shoppers immediately recognize.
- Best use case: Standard square product grid images.
- Visual style: A diagonal band placed cleanly across the top-right corner of the image.
- Implementation logic: You need to use absolute CSS positioning and a high
z-index. This ensures the ribbon sits perfectly over thecard-product.liquidimage container without shifting the page layout.
2. The Modern Floating Circle
Screen real estate is incredibly tight on mobile devices. A floating circle badge solves this problem.
- Best use case: Mobile-first stores with large lifestyle product photography.
- Visual style: A small, punchy circular badge positioned in the top-left corner.
- The benefit: This design prevents crucial product details and faces from being obscured on smaller screens. It keeps your mobile conversion rates fully intact.
3. The Minimalist Text Badge
Sometimes loud colors clash with your brand identity. The minimalist approach keeps your grid looking premium.
- Best use case: Luxury, high-end apparel, or minimalist aesthetic brands.
- Visual style: Simple sans-serif text with a subtle 80% background opacity.
- Integration tip: Instead of overlaying the image, fit this badge perfectly beneath the product title. It provides the information without covering your product photography.
III. 5 Strategies to Automate Your New Arrival Setup
Implementing dynamic product labels doesn't require a master's degree in coding. Here is how you can use Liquid to automate the entire process based on when a product was added to your store.
1. Target the Correct Liquid Files
Always duplicate your theme before editing Liquid files.
Many tutorials fail because they instruct you to edit the wrong file. For product grids, you need to look beyond the main product template. Changes made to main-product.liquid will only show on the individual product page. This completely misses your collection grids where badges have the highest impact.
Here is how to locate the right file:
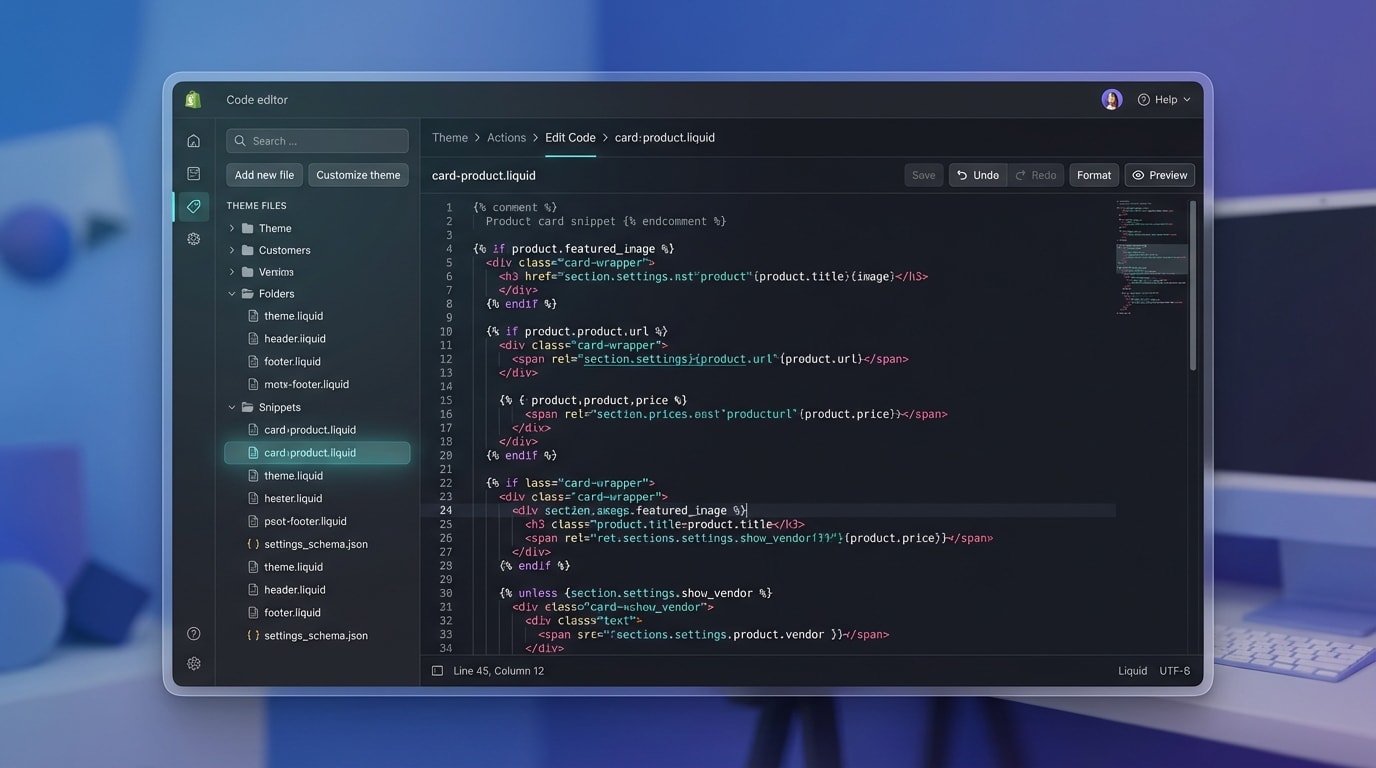
- Find the grid file: In your Shopify theme editor, search for
card-product.liquidorproduct-grid-item.liquid. The exact name depends on your theme version. - Locate the image container: Look for the HTML
<div>that houses your featured product image. - Inject your snippet: Place your conditional Liquid statement directly inside this relative container.
Getting the location right ensures your absolute CSS positioning works properly and your badges look uniform across all automated collections.
2. Implement the Date Math Logic
Instead of checking if a product contains a specific "New" tag, calculate the difference between today's date and the product's creation date. This completely eliminates the need for manual tagging.
Follow these steps to build the logic:
- Capture the dates: Use Liquid to capture today's date with
"now" | date: "%s". Then capture the product date usingproduct.created_at | date: "%s". The%sconverts the date into total seconds. - Calculate the difference: Subtract the creation date from today's date. This gives you the total seconds elapsed since the product was published.
- Set your threshold: Convert your desired timeframe into seconds. For example, 30 days equals 2,592,000 seconds.
- Write the condition: Write an
{% if %}statement to display the badge only if the elapsed time is less than your 30-day threshold.
This logic runs dynamically every time a page loads.
3. Inject and Style the CSS Classes
Once your Liquid logic is firing correctly, you need to make the badge visually appealing.
Pro Tip: Keep your CSS styles in your mainbase.cssortheme.cssfile rather than writing inline styles within the Liquid file. This significantly improves your site loading speed.
Here is how to style your badges:
- Assign a distinct class: Inside your Liquid
{% if %}statement, output a<span>with a dedicated class likeclass="custom-new-badge". - Apply W3C standard positioning: Ensure the parent image container has
position: relative;. Give your new badgeposition: absolute;so it floats over the image. - Add brand aesthetics: Apply your background colors, padding, border-radius, and font weights to match your brand's style guide.
4. Optimize for Mobile Responsiveness
Test your CSS overlays on mobile devices to protect user experience.
A common failure point in manual setups is a badge that looks great on desktop but completely covers the product on mobile screens. With the majority of Shopify traffic coming from mobile devices, a badge that breaks visual UX will hurt conversions.
How to secure mobile responsiveness:
- Use CSS media queries: Adjust the badge size, padding, and font size specifically for screens under 768px.
- Adjust positioning logic: Move the badge from the center to a top corner on mobile views. Alternatively, shift it beneath the image entirely.
- Test extensively: Open your store in Google Chrome. Use DevTools to ensure the
created_atbadge adapts smoothly across all device widths.
5. Combine with Secondary Urgency Labels
Advanced store owners do not stop at just a "New Arrival" tag. They stack logic to create maximum mid-funnel urgency. Combining a "New" badge with a "Low Stock" warning provides a massive Conversion Rate Optimization boost.
Here is how to stack your logic:
- Nest your conditions: Add an
elsifstatement within your Liquid code. Instruct it to checkproduct.variants.first.inventory_quantity. - Prioritize visibility: Decide which label is more important. If a product is both new and running out of stock, combine them into a single "New & Selling Fast" label.
- Use metafields: For complex scenarios, pull in dynamic metafield data to customize the label text based on the specific product category.
This transforms a basic static label into an aggressive, dynamic sales assistant.
IV. Scaling Your Badges: Code vs. Apps
While coding your own Liquid logic is a great technical solution, you must consider the long-term maintenance implications as your store grows.
1. The Cost of Manual Maintenance
Custom code requires constant babysitting. When you update your Shopify theme to a newer version, it frequently overwrites your custom card-product.liquid changes. You will have to manually copy and paste your logic back into the new theme.
Furthermore, troubleshooting CSS conflicts during site redesigns eats up valuable time. Managing complex logic becomes a tangled mess when you try to combine "New Arrival" rules with "Black Friday Sale" and "Low Stock" rules simultaneously.
2. When to Use a Dedicated App
If your catalog exceeds 100 products, a visual builder saves immense time. Dedicated apps allow non-technical team members to launch promotional campaigns without touching a single line of code.
If you need fresh ideas for your visual strategy, review these creatives ideas to utilize Shopify product badges to attract customers. Apps like Fordeer offer drag-and-drop templates, automated rule-based triggers, and guaranteed mobile responsiveness out of the box. You get all the conversion benefits without the risk of breaking your theme code.
V. Conclusion
So there you go—building a fully automated shopify new arrival label setup is entirely possible without relying on manual tagging or enterprise workflows. By utilizing the created_at Liquid logic and responsive CSS templates, you can create a seamless browsing experience that highlights your freshest inventory.
You don't have to be a master developer to execute these strategies. Start by locating your product grid file and implementing the basic date math. As your store scales, do not hesitate to lean on dedicated tools to manage your product grids efficiently. Taking action today will ensure your new products get the visibility they deserve, driving that crucial conversion bump!
Follow the Fordeer Team for more useful updates!
- Install Fordeer Apps for Free
- Get immediate assistance by chatting with us
- Join Fordeer Commerce Community for fresh app updates, expert tips, and private deals.

