Schedule Your Shopify Promotional Badges: Set It Before the Sale Starts

It is midnight after a massive Black Friday weekend. Instead of celebrating your revenue, you are frantically clicking through your Shopify admin, manually removing "Sale" stickers from hundreds of products before the next morning. If you miss even one, you risk confusing customers and eating into your profit margins. Sound familiar?
For growing eCommerce brands, managing promotional labels manually is no longer a sustainable option. Implementing automated shopify promotional badge scheduling is the smartest way to run flash sales, manage inventory-based urgency, and maintain your store's professional appearance. Modern scheduling tools now integrate directly with Shopify OS 2.0, meaning you do not have to sacrifice site speed for conversion.
In this guide, we break down the true cost of manual badging and introduce the Golden Ratio of product labels. Then, we walk you through seven practical scheduling strategies to automate your promotions, protect your page speed, and keep your conversions high. Let's get started.
I. Overview of Automated Badge Scheduling
Scheduling your product badges saves countless hours during high-volume sales
1. The Cost of Manual Labeling
Manual tagging eats up hours of valuable time. Adding and removing Liquid code or tags across hundreds of SKUs during peak events is a massive drain on your resources. Human error is also inevitable. Leaving a discounted custom badges Shopify label live after a sale ends directly impacts your profit margins. Furthermore, manual updates simply fail during synchronized omnichannel campaigns where perfect timing is everything.
2. The Shift to Shopify OS 2.0
Older badge apps relied on heavy script tags. These scripts caused Cumulative Layout Shift, moving your page elements around as they loaded. Today, modern Shopify OS 2.0 utilizes App Blocks integration. Scheduled badges load instantly without dragging down your PageSpeed Insights scores. To dive deeper into how these integrations improve your store, read our guide on Product Labels & Badges for Shopify: CRO Encyclopedia (2026).
3. The Psychology of Timed Urgency
Scarcity drives action. The Baymard Institute notes that authentic urgency pushes hesitant shoppers to checkout. Automated start/stop dates create real scarcity because the badge disappears exactly when the timer hits zero. Authentic scarcity builds long-term trust with your customers. Fake, always-on sale labels quickly lose their impact and damage your brand credibility over time.
II. The "Golden Ratio" of Product Badging
Avoid badge fatigue by prioritizing clean, singular promotional messages
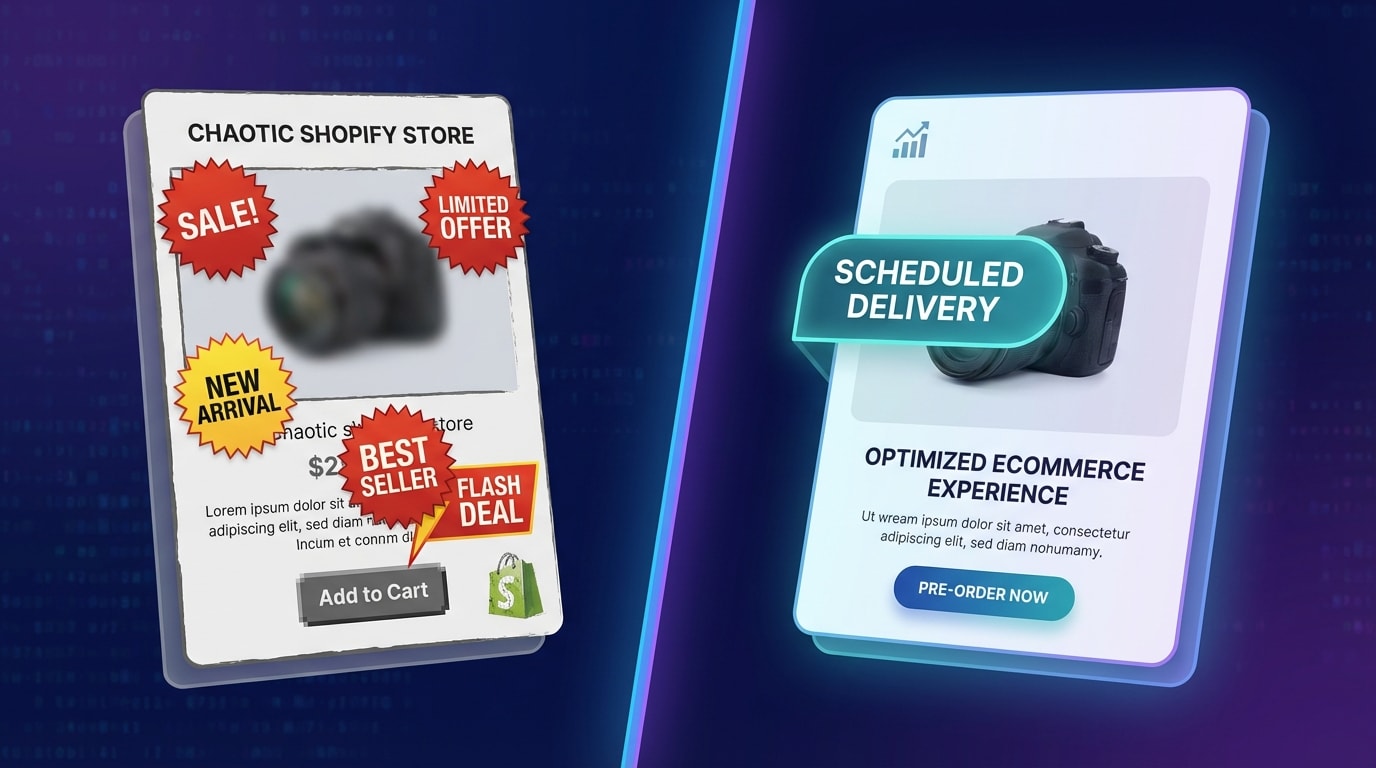
1. Understanding Badge Fatigue
Badge fatigue happens when a store applies too many trust, sale, and shipping labels at once. Shoppers get overwhelmed and start ignoring all of them. This visual clutter creates cognitive friction, making it harder for customers to focus on the product itself. Dynamic scheduling solves this problem. Badges should rotate based on current promotions, not stack endlessly on top of each other.
2. The Visual Hierarchy Rule
Keep your product cards clean. The rule is simple. Display only one or two primary promotional labels per product. Prioritize your highest-value message above everything else. A scheduled flash sale badge must temporarily override a generic bestseller label. Clean, intentional design elevates your perceived brand value and draws the eye exactly where you want it.
3. Data-Driven Placement
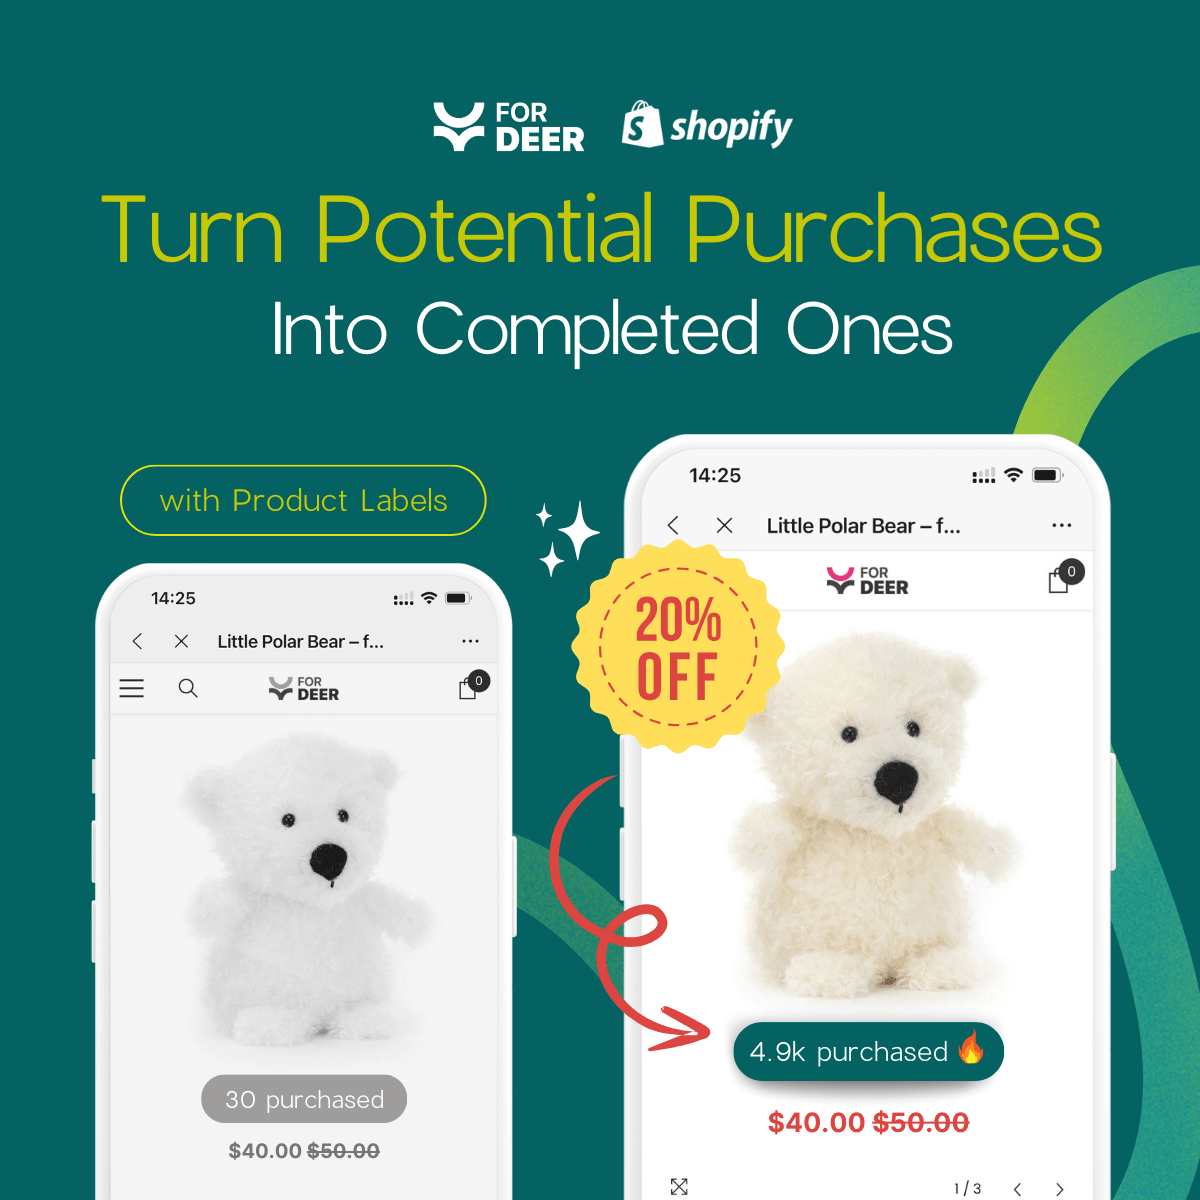
Where you put your badge matters just as much as what it says. Scheduled badges perform best in the top-left corner of product images or immediately next to the Add to Cart button. Automated logic helps optimize your layout. You can conditionally hide promotional badges when native strikethrough pricing is already doing the heavy lifting, keeping your design optimized for conversions.
III. 7 Strategies to Master Shopify Promotional Badge Scheduling
Automating your badges is about more than just setting a date. Here are seven actionable strategies to turn your promotional labels into a well-oiled conversion machine.
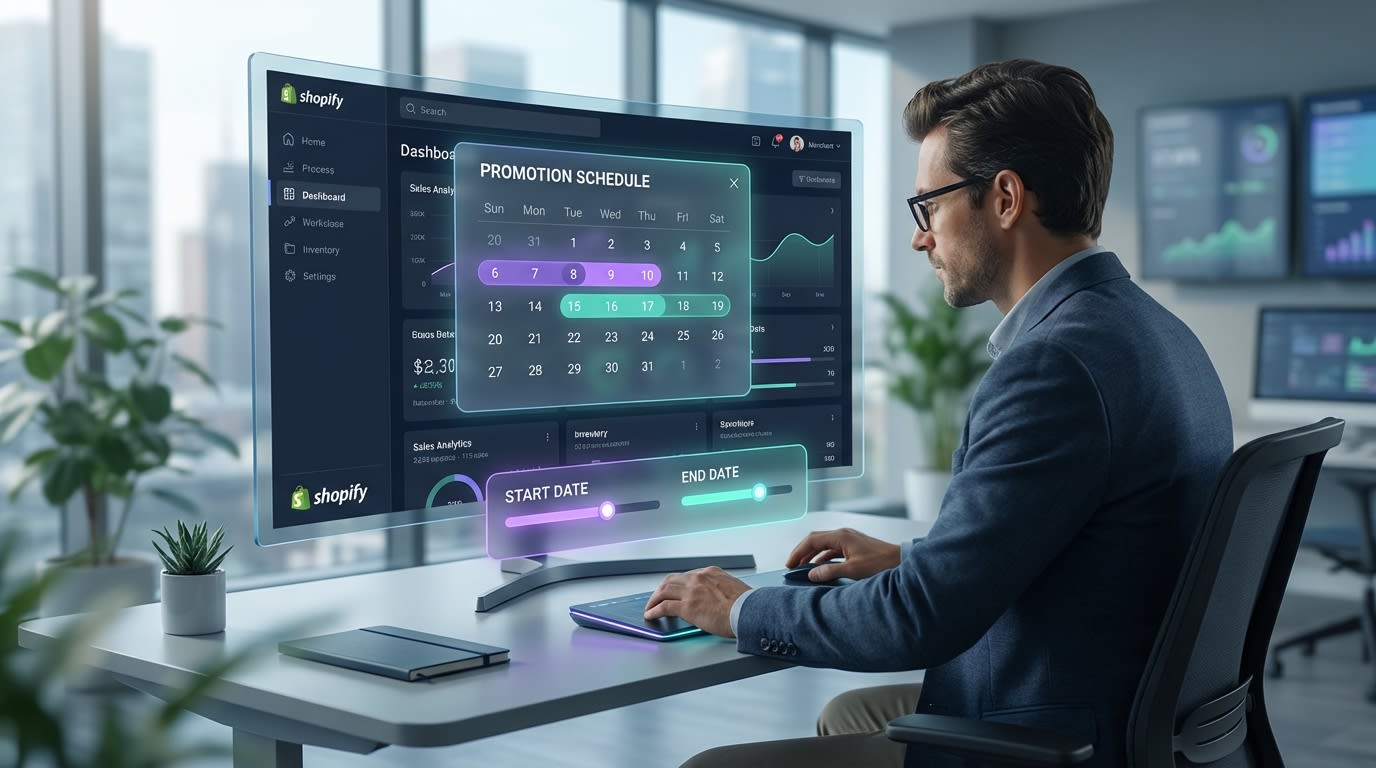
1. Automate Start and Stop Dates for High-Volume Sales
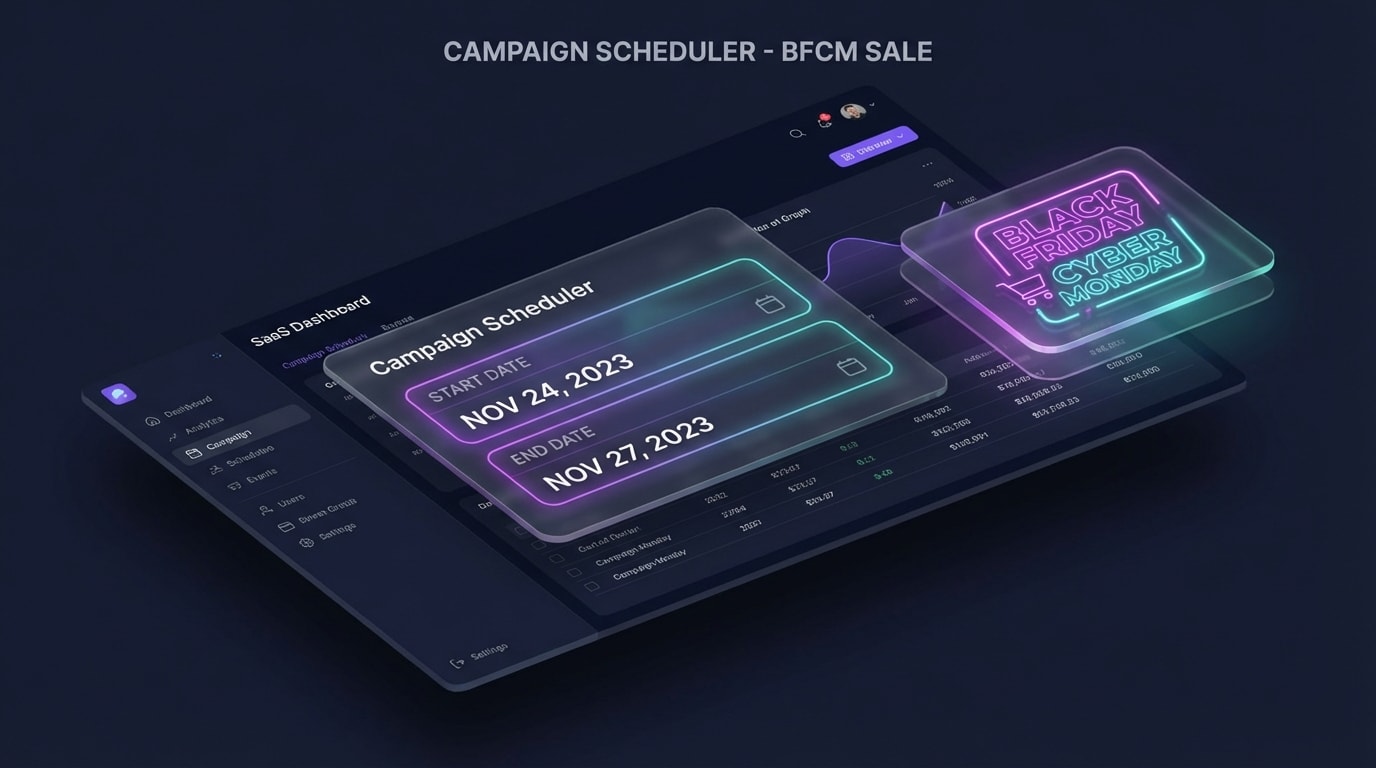
Set it and forget it: configuring precise start and end times for BFCM
Midnight manual updates are a thing of the past. The most fundamental use of scheduling is aligning your store visuals precisely with your promotional calendar.
Why this matters: Precise timing ensures compliance with your marketing promises and protects your profit margins the second a sale ends.
Here's how to implement:
- Set up weeks in advance: Build your holiday badges in October and schedule their exact activation times. For visual inspiration on what works, explore how product badges can make your products stand out and drive sales.
- Use timezone-aware scheduling: Ensure your app syncs with your store's primary timezone, not just the local browser time.
- Automate the takedown: Configure the badge to disappear exactly at 11:59 PM on the final day of the promotion.
This set-and-forget approach frees you up to focus on customer support and fulfillment during peak traffic hours.
2. Trigger Badges Based on Live Inventory Levels
Scheduling is not just about calendar dates. It is about automating the lifecycle of a product based on its availability.
Why this matters: Showing a low stock label creates genuine scarcity. This is proven to increase conversion rates immediately.
Here's how to implement:
- Set inventory thresholds: Program your app to automatically display a warning badge only when inventory drops below 10 units.
- Automate sold out tags: Replace promotional labels with a clean pre-order tag the moment stock hits zero.
- Combine with dates: Run a scheduled weekend sale, but let the inventory trigger override the sale badge if the item sells out before Sunday.
3. Target Specific Collections to Avoid Storewide Clutter
Applying a generic discount badge to every single item in your store cheapens your brand and contributes to badge fatigue.
Why this matters: Customers respond better to targeted promotions. A badge feels far more valuable when it is exclusive to a specific category.
Here's how to implement:
- Use Shopify product tags: Schedule your promotional labels to only appear on products tagged with a specific clearance marker.
- Collection-level targeting: Apply a flash sale badge exclusively to your accessories collection for a strict 48-hour window.
- Exclude VIP items: Ensure your automated rules explicitly exclude flagship or newly launched products from getting discounted labels.
Pro Tip: If you have a tiered sale, schedule dynamic text badges that automatically calculate the exact discount percentage based on the product's compare-at price.
4. Implement A/B Testing for Badge Designs
Most merchants guess which color or phrasing works best. Top-performing stores use data to decide.
Why this matters: A bold red badge might work for a streetwear brand, but look completely out of place on a minimalist skincare store. This active mismatch hurts conversions.
Here's how to implement:
- Test the copy: Run a schedule where week one uses a percentage off and week two uses a flat dollar amount to see which yields a higher click-through rate.
- Test the colors: Compare high-contrast warm colors against brand-aligned cool colors.
- Track the lift: Use your analytics to measure the conversion rate lift of specific badge variations during identical traffic periods.
5. Sync Badge Timing with Omnichannel Campaigns
Your website visuals must perfectly match the emails and social media ads your customers are clicking on.
Why this matters: If an email promises a four-hour flash sale but the customer lands on a site with no matching visual cues, they will likely bounce.
Here's how to implement:
- Match the launch: Schedule your badges to go live exactly five minutes before your email blast goes out.
- Align the copy: If your Instagram ad highlights a staff pick, schedule a custom text badge with the exact same phrasing on the landing page.
- Create consistency: Ensure the visual style of the badge matches the graphic design of your current social media campaign.
6. Protect Site Speed with OS 2.0 Integration
Historically, badge apps injected heavy Liquid code or legacy script tags into a theme. This drastically slowed down page load times.
Why this matters: Every second of delay in mobile page load time drops conversions by up to 20%. Your badges must boost sales, not kill your site speed.
Here's how to implement:
- Audit your current app: Ensure your badge app natively supports a lightweight Shopify OS 2.0 integration.
- Use App Blocks: Schedule badges using theme App Blocks. These load asynchronously and prevent layout shifts as the page renders.
- Remove old code: When switching to a modern scheduling app, double-check your theme files to ensure no legacy script tags are left behind.
7. Schedule "Pre-Sale" Teaser Labels
Do not wait for the sale to start to build hype. Use your scheduling tool to build anticipation early.
Why this matters: Teasing an upcoming promotion encourages customers to build their carts early. This leads to a massive revenue spike the moment the sale goes live.
Here's how to implement:
- The 48-hour tease: Schedule a preview badge two days before the actual discount activates.
- Transition smoothly: Program the teaser badge to automatically swap to a live discount badge at the exact moment the sale begins.
- Drive signups: Pair these teaser badges with an email capture popup to grow your list before the major traffic hits.
IV. Other Things to Keep in Mind
Always verify how your scheduled badges render on mobile devices
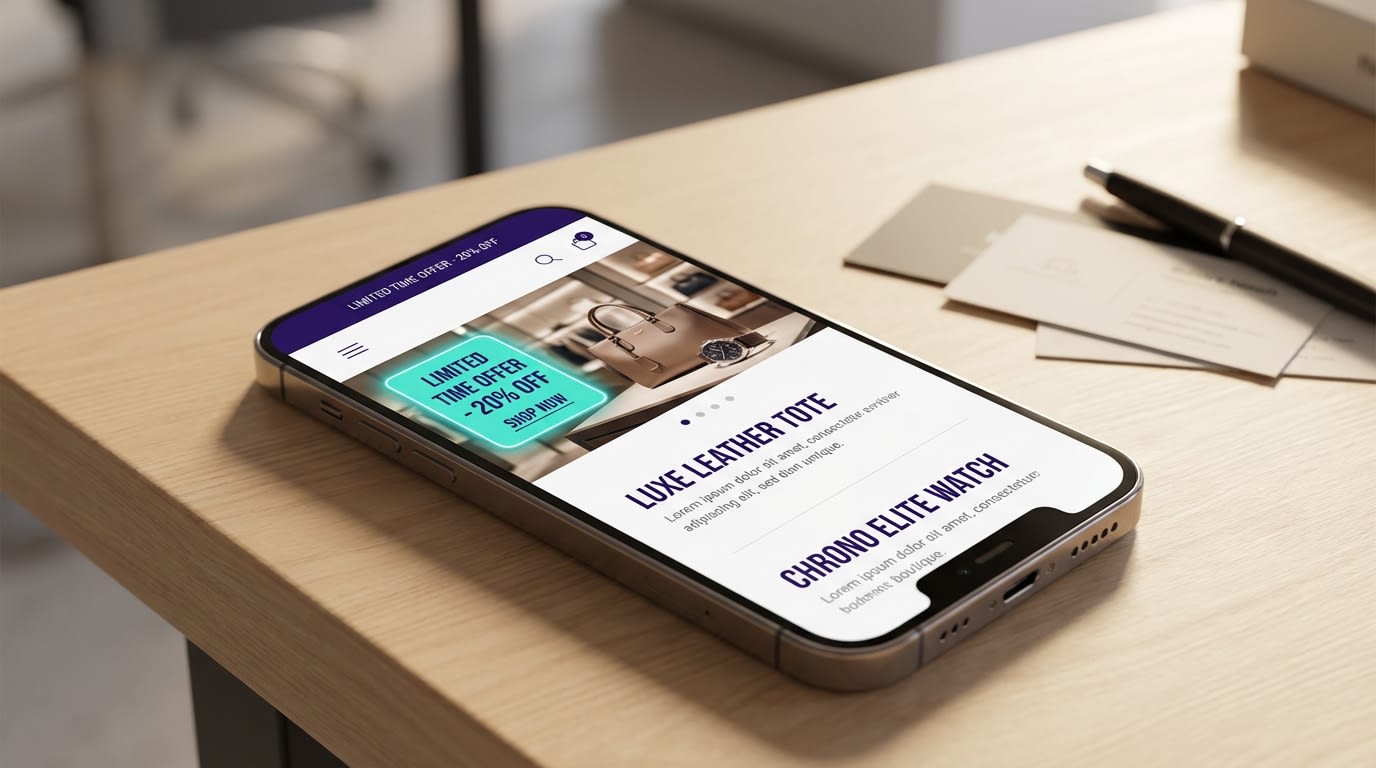
1. Mobile-First Display Rules
Over 70% of Shopify traffic comes from mobile devices. A badge that looks perfectly sized on a desktop monitor might cover the entire product image on a smartphone. When scheduling your campaigns, prioritize apps that allow you to adjust badge scaling specifically for mobile screens. Always preview your automated badges on your phone before the scheduled start time. This ensures they do not overlap with critical UI elements like variant selectors.
2. Overlapping Promotion Logic
What happens when a product triggers a low stock rule but is also part of a scheduled holiday sale? You need strict hierarchy rules. Configure your app settings to decide which badge takes priority when multiple conditions are met. Scarcity usually drives a higher immediate conversion than a general percentage discount. Set your scheduling logic to prioritize inventory-based badges over general promotional labels when conflicts occur.
V. Conclusion
So there you go. Mastering Shopify promotional badge scheduling is one of the highest-leverage tweaks you can make for your store. By automating your start and end dates, leaning into inventory triggers, and respecting the visual Golden Ratio, you eliminate manual errors. The result? A fast, conversion-friendly storefront.
You do not have to be a coding expert to implement this. Modern OS 2.0 integrations make setting up automated product labels incredibly easy. This takes just minutes, allowing you to focus on the bigger picture of scaling your brand.
Follow the Fordeer Team for more useful updates!
- Install Fordeer Apps for Free
- Get immediate assistance by chatting with us
- Join Fordeer Commerce Community for fresh app updates, expert tips, and private deals.

